Rails入門 日程調整アプリを作ろう7(番外編:インクリメンタル検索追加)
Rails' Wikiの日程調整アプリを作ろうは実装 -4-(Htpasswd,routes,validation,layouts)で止まっているため、インクリメンタル検索の機能を付与してみました。
参考にしたページはpylori*style wiki - RailsでAjax: インクリメンタル検索英和辞書になります。
1.userのlistページに名前のインクリメンタル検索を追加する。
1-1.Ajaxを使うために、javascriptのライブラリであるprototype.jsをロードするため、/adjuster/app/views/layouts/application.rhtmlのhead部分に以下を追加します。
<%= javascript_include_tag 'prototype' %>
1-2./adjuster/app/views/user/list.rhtmlをコピーし、/adjuster/app/views/user/_searchresult.rhtmlを作成します。この_searchresult.rhtmlが検索結果を表示する部分で、検索語を入力する度に更新されます。
1-3./adjuster/app/views/user/list.rhtmlを編集します。observe_field文を追加し、検索結果表示部を外出しするため削除しています。
<h1>Listing users</h1>

<%= start_form_tag({:action => 'list'}, {:method => 'get'}) %>
  <%= text_field_tag :phrase, @phrase %>
  <%= observe_field(:phrase, :frequency => 0.5, :update => :results, :url => {:action => :search}) %>
  <%= submit_tag 'Search' %>
<%= end_form_tag %>

<div id="results">
  <%= render :partial => 'searchresult' %>
</div>

<br />

<%= link_to 'New user', :action => 'new' %>
1-4./adjuster/app/views/user/_searchresult.rhtmlを編集します。table、ページング部分を残します。tableは修正する必要なし。ページングを修正します。
<table>
  <tr>
  <% for column in User.content_columns %>
    <th><%= column.human_name %></th>
  <% end %>
  </tr>

<% for user in @users %>
  <tr>
  <% for column in User.content_columns %>
    <td><%=h user.send(column.name) %></td>
  <% end %>
    <td><%= link_to 'Show', :action => 'show', :id => user %></td>
    <td><%= link_to 'Edit', :action => 'edit', :id => user %></td>
    <td><%= link_to 'Destroy', { :action => 'destroy', :id => user }, :confirm => 'Are you sure?', :method => :post %></td>
  </tr>
<% end %>
</table>

<%= link_to 'Previous page', { :page => @user_pages.current.previous, :action => 'list', :phrase => @phrase } if @user_pages.current.previous %>
<%= link_to 'Next page', { :page => @user_pages.current.next, :action => 'list', :phrase => @phrase } if @user_pages.current.next >
1-5./adjuster/app/controllers/user_controller.rbを修正します。listを修正、今回新たに定義したsearchを追加します。
  def list
    @phrase = params[:phrase] || ''
    phrase = @phrase + '%'
    @user_pages, @users = paginate :users, :per_page => 10, :conditions => ["name like ?", phrase]
  end
  def search
    @phrase = request.raw_post || request.query_string
    phrase = @phrase.chop + '%'
    @user_pages, @users = paginate :users, :per_page => 10, :conditions => ["name like ?", phrase]
    render :partial => 'searchresult'
  end
searchの3行目、phrase = @phrase.chop + '%'の.chopは、検索した値に付与される"="を排除するためにつけています。*1
1-6.http://localhost:3000/userを表示し動作確認をします。
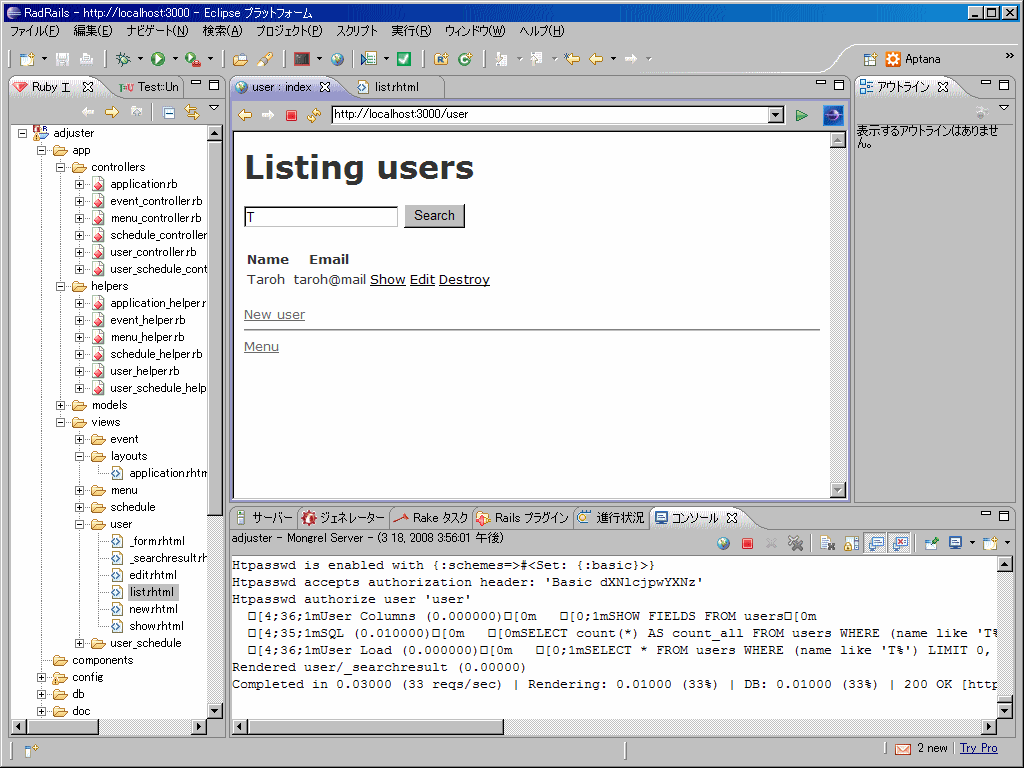
例がわかりにくいのですが、ちゃんと入力した値で前方一致検索されるようになります。
*1:Rails1.0では解消されたとありましたが、1.2から復活したみたいです。
Rails入門 日程調整アプリを作ろう6
Rails入門 日程調整アプリを作ろう5の続き。
実装 -4-(Htpasswd,routes,validation,layouts)の1-7です。
1.BASIC認証用にhtpasswdプラグインをインストール。認証をかける
1-1.コマンドプロンプトを開き、D:\workspace\adjusterに移動し、ruby script/plugin install http://wota.jp/svn/rails/plugins/branches/stable/htpasswdを入力します。
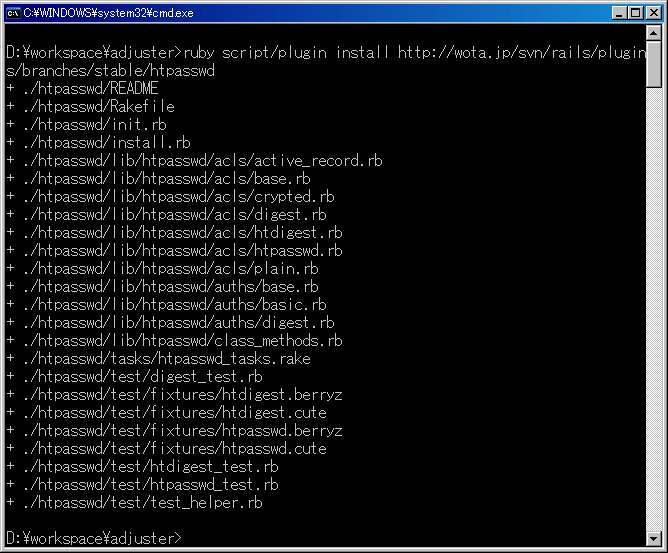
htpasswdプラグインがインストールされます。
1-2./adjuster/app/controllers/application.rbにuser、passwordを記述します。
# Filters added to this controller apply to all controllers in the application.
# Likewise, all the methods added will be available for all controllers.

class ApplicationController < ActionController::Base
  # Pick a unique cookie name to distinguish our session data from others'
  session :session_key => '_adjuster_session_id'
  htpasswd :user => "user", :pass => "pass"
end
1-3.http://localhost:3000/eventを表示すると、認証画面が表示されるようになります。

2.トップページをメニュー画面に変更
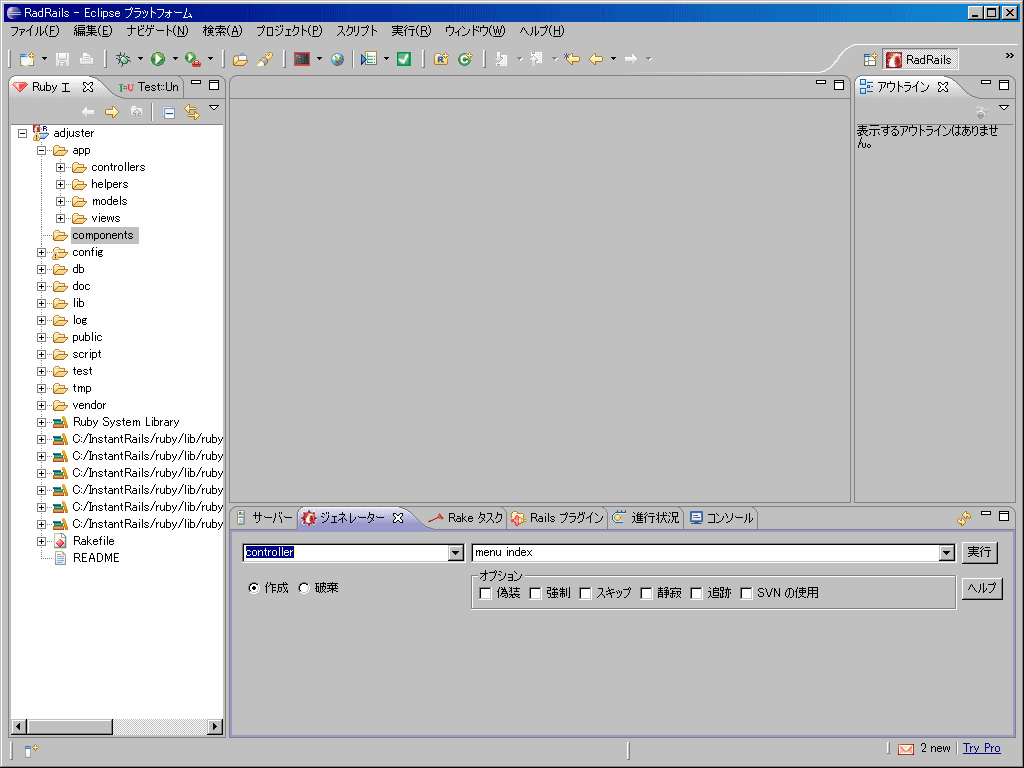
2-1.Eclipseのジェネレータータブを開き、プルダウンにcontroller、テキストボックスにmenu indexを入力し、実行ボタンをクリックします。
2-2./adjuster/config/routes.rbを編集します。
ActionController::Routing::Routes.draw do |map|
  # The priority is based upon order of creation: first created -> highest priority.

  # Sample of regular route:
  # map.connect 'products/:id', :controller => 'catalog', :action => 'view'
  # Keep in mind you can assign values other than :controller and :action

  # Sample of named route:
  # map.purchase 'products/:id/purchase', :controller => 'catalog', :action => 'purchase'
  # This route can be invoked with purchase_url(:id => product.id)

  # You can have the root of your site routed by hooking up ''
  # -- just remember to delete public/index.html.
  map.connect '', :controller => "menu"

  # Allow downloading Web Service WSDL as a file with an extension
  # instead of a file named 'wsdl'
  map.connect ':controller/service.wsdl', :action => 'wsdl'

  # Install the default route as the lowest priority.
  map.connect ':controller/:action/:id.:format'
  map.connect ':controller/:action/:id'
end
2-3./adjuster/public/index.htmlを削除します。
2-4./adjuster/app/views/menu/index.rhtmlを編集します。
<h1>Adjuster Menu</h1>
<%= link_to "User List", :controller => :user, :action => :list %><br />
<%= link_to "Event List", :controller => :event, :action => :list %>
これにより、http://localhost:3000/にアクセスした際に、作成したmenuが表示されるようになります。
3.スケジュールのnewに遷移するリンクをuser_schedules/listに追加、コントローラを変更する
3-1./adjuster/app/views/user_schedule/list.rhtmlを修正します。
<h1><%=h @event.name %> UserSchedule#list</h1>
<%= link_to 'New schedule', :controller => 'schedule', :action => 'new', :id => @event %>
<table>
  <tr>
    <th>Name</th>
    <% for schedule in @schedules %>
      <th><%=h schedule.schedule_date.strftime("%m/%d") %></th>
    <% end %>
  </tr>
  <% for user in @users %>
    <tr>
      <td><%=h user.name %></td>
      <% for user_schedule in user.user_schedules %>
        <td><%=h user_schedule.attend %></td>
      <% end %>
    </tr>
  <% end %>
</table>
3-2.スケジュール作成後、user_scheduleのlistへリダイレクトするための処理を/adjuster/app/controllers/schedule_controller.rbのcreateに設定します。
  def create
#   @schedule = Schedule.new(params[:schedule])
    @event = Event.find(params[:id])
    @schedule = @event.schedules.build(params[:schedule])
    if @schedule.save
      flash[:notice] = 'Schedule was successfully created.'
      redirect_to :controller => 'user_schedule', :action => 'list', :id => @event
    else
      render :action => 'new', :id => @event
    end
  end
4.スケジュールの並び順を変更する
4-1.以下の理由から、/adjuster/app/models/event.rbを編集します。
user_scheduleコントローラーの@event.schedulesという部分を@event.schedules.find(:all,:order =>'schedule_date')とすれば並び順は変更できます。
しかし、ここを変更の場合、他の場所でも同じようにスケジュールを取得するコードを書いた場合、その都度記述しなければならずDRYではありません。
そもそもeventからschedulesを取得する場合、普通は常に日付順に並ばせる事になるかと思います。
というわけでeventモデルのアソシエーション部分を変更します。app/models/event.rbを以下のように修正します。
class Event < ActiveRecord::Base
  has_many :schedules, :order => 'schedule_date'
end
5.validationをかける(user,event)
5-1./adjuster/app/models/user.rbを編集します。
class User < ActiveRecord::Base
  has_many :user_schedules, :dependent => :destroy
  has_many :schedules, :through => :user_schedules

  validates_presence_of :name, :email

  after_create :create_user_schedule
  def create_user_schedule
    Schedule.find(:all,
                  :conditions => ["schedule_date >= ?", Time.now.beginning_of_month]).each do |schedule|
      self.schedules << schedule
    end
  end
end
5-2./adjuster/app/models/event.rbを編集します。
class Event < ActiveRecord::Base
  has_many :schedules, :order => 'schedule_date'

  validates_presence_of :name, :note
end
6.menuへのリンクを共通化する
6-1./adjuster/app/views/layouts/event.rhtmlのファイル名をapplication.rhtmlに変更し、layoutsフォルダ内の他のファイルを削除します。
6-2./adjuster/app/views/layouts/application.rhtmlを編集します。
<!DOCTYPE html PUBLIC "-//W3C//DTD XHTML 1.0 Transitional//EN"
       "http://www.w3.org/TR/xhtml1/DTD/xhtml1-transitional.dtd">

<html xmlns="http://www.w3.org/1999/xhtml" xml:lang="en" lang="en">
<head>
  <meta http-equiv="content-type" content="text/html;charset=UTF-8" />
  <title><%= controller.controller_name %> : <%= controller.action_name %></title>
  <%= stylesheet_link_tag 'scaffold' %>
</head>
<body>

<p style="color: green"><%= flash[:notice] %></p>

<%= yield  %>

<hr />
<%= link_to_unless_current 'Menu', :controller => 'menu', :action => 'index' %>

</body>
</html>
7.スケジュールの日付の表示を修正する
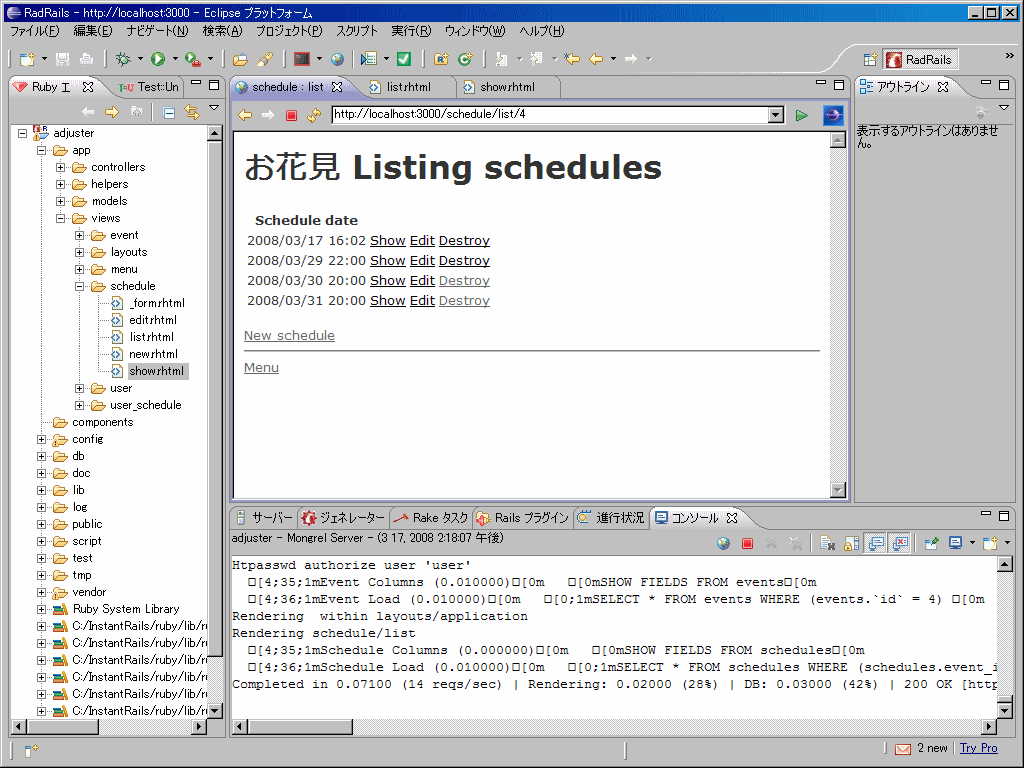
7-1./adjuster/app/views/schedule/list.rhtmlの日時表示部分を編集します。*1
<h1>Adjuster Menu</h1>
<h1><%=h @event.name %> Listing schedules</h1>
<table>
  <tr>
  <% for column in Schedule.content_columns %>
    <th><%= column.human_name %></th>
  <% end %>
  </tr>

<% for schedule in @schedules %>
  <tr>
    <td><%=h schedule.schedule_date.strftime("%Y/%m/%d %H:%M") %></td>
    <td><%= link_to 'Show', :action => 'show', :id => schedule %></td>
    <td><%= link_to 'Edit', :action => 'edit', :id => schedule %></td>
    <td><%= link_to 'Destroy', { :action => 'destroy', :id => schedule }, :confirm => 'Are you sure?', :method => :post %></td>
  </tr>
<% end %>
</table>

<%# link_to 'Previous page', { :page => @schedule_pages.current.previous } if @schedule_pages.current.previous %>
<%# link_to 'Next page', { :page => @schedule_pages.current.next } if @schedule_pages.current.next %>

<br />

<%= link_to 'New schedule', :action => 'new', :id => @event %>
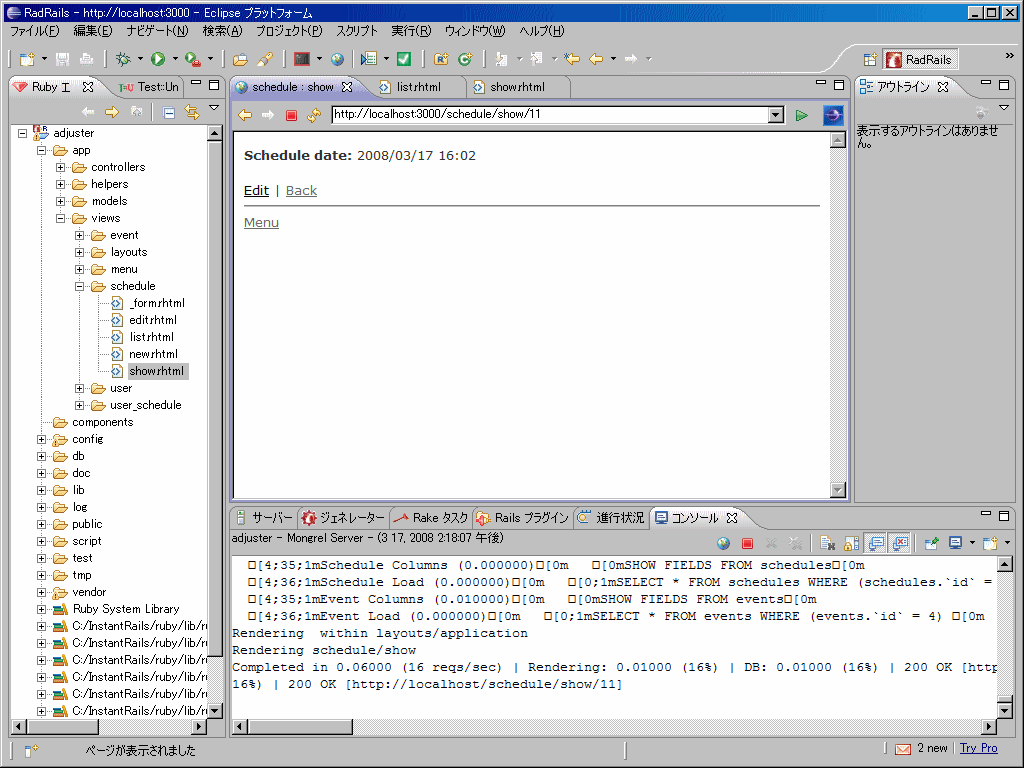
7-2./adjuster/app/views/schedule/show.rhtmlの日時表示部分を編集します。
<% for column in Schedule.content_columns %>
<p>
  <b><%= column.human_name %>:</b> <%=h @schedule.schedule_date.strftime("%Y/%m/%d %H:%M") %>
</p>
<% end %>

<%= link_to 'Edit', :action => 'edit', :id => @schedule %> |
<%= link_to 'Back', :action => 'list', :id => @event %>
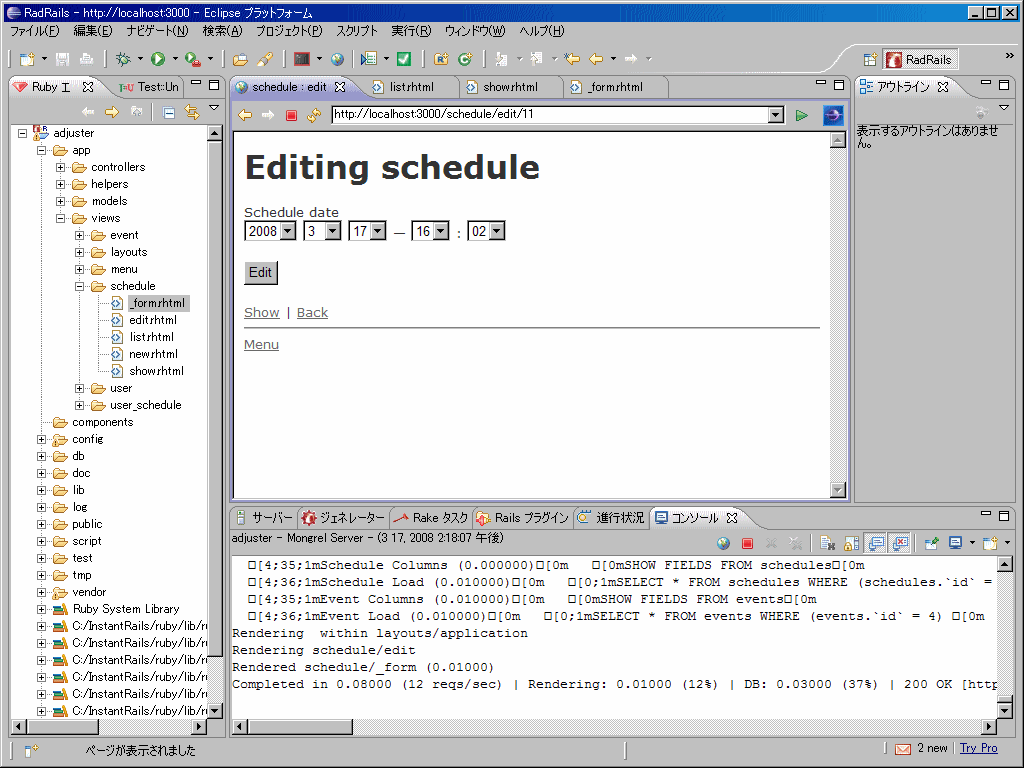
7-3./adjuster/app/views/schedule/_form.rhtmlの日時表示部分を編集します。
<%= error_messages_for 'schedule' %>

<!--[form:schedule]-->
<p><label for="schedule_schedule_date">Schedule date</label><br/>
<%= datetime_select 'schedule', 'schedule_date', :use_month_numbers => true %></p>
<!--[eoform:schedule]-->
*1:日程だけでなく、時間の入力も残しました。
Rails入門 日程調整アプリを作ろう5
Rails入門 日程調整アプリを作ろう4の続き。
実装 -2-(Schedule,UserSchedule)の11-15です。
11.UserScheduleのコントローラーを作成する(日程調整画面)
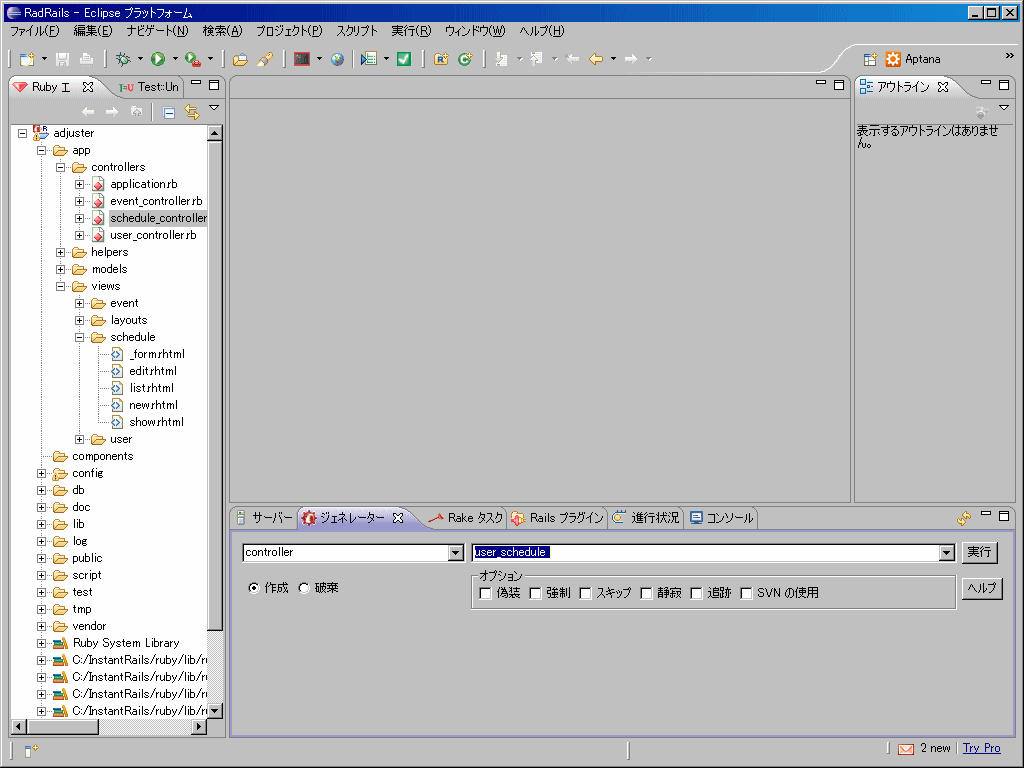
11-1.Eclipseのジェネレータータブを開き、プルダウンにcontroller、テキストボックスにuser_schedule listを入力し、実行ボタンをクリックします。
12.UserSchedule/listへのlinkをEvent/listに新たに作成
12-1./adjuster/app/views/event/list.rhtmlを開き、table部分を以下のように記述します。
<table>
  <tr>
  <% for column in Event.content_columns %>
    <th><%= column.human_name %></th>
  <% end %>
  </tr>

<% for event in @events %>
  <tr>
  <% for column in Event.content_columns %>
    <td><%=h event.send(column.name) %></td>
  <% end %>
    <td><%= link_to 'Show', :action => 'show', :id => event %></td>
    <td><%= link_to 'Edit', :action => 'edit', :id => event %></td>
    <td><%= link_to 'Destroy', { :action => 'destroy', :id => event }, :confirm => 'Are you sure?', :method => :post %></td>
    <td><%= link_to 'Schedule_list', :controller => 'schedule', :action => 'list', :id => event %></td>
    <td><%= link_to 'attend', :controller => 'user_schedule', :action => 'list', :id => event %></td>
  </tr>
<% end %>
</table>
13.UserScheduleコントローラーのlistにマトリックス表示に必要な処理を記述
13-1./adjuster/app/controllers/user_schedule_controller.rbを編集します。
<table>
class UserScheduleController < ApplicationController
  def list
    @event = Event.find(params[:id])
    @schedules = @event.schedules
    @users = User.find(:all,
                     :include => [:user_schedules, :schedules],
                     :conditions => ["schedules.event_id = ?", @event.id])
  end
end
この時点では、@usersを取得するところにミスがあるそうです。
14.UserScheduleのviews/list.rhtmlに、マトリックス表表示の処理を記述
14-1./adjuster/app/views/user_schedule/list.rhtmlを修正します。
<h1><%=h @event.name %> UserSchedule#list</h1>
<table>
	<tr>
		<th>Name</th>
		<% for schedule in @schedules %>
			<th><%=h schedule.schedule_date.strftime("%m/%d") %></th>
		<% end %>
	</tr>
	<% for user in @users %>
		<tr>
			<td><%=h user.name %></td>
			<% for user_schedule in user.user_schedules %>
				<td><%=h user_schedule.attend %></td>
			<% end %>
		</tr>
	<% end %>
</table>
15.User,Schedule作成時、UserScheduleを作成する処理を記述
15-1./adjuster/app/models/user.rbを編集します。
class User < ActiveRecord::Base
  has_many :user_schedules, :dependent => :destroy
  has_many :schedules, :through => :user_schedules
  after_create :create_user_schedule
  def create_user_schedule
    Schedule.find(:all,
                  :conditions => ["schedule_date >= ?", Time.now.beginning_of_month]).each do |schedule|
      self.schedules << schedule
    end
  end
end
:dependent => :destroyで、userをdestroyした時にuser_schedulesもdestroyされるようになります。
self.schedules << scheduleがなぁ、いまいちわからない。。
15-2./adjuster/app/models/schedule.rbを編集します。
class Schedule < ActiveRecord::Base
  belongs_to :event
  has_many :user_schedules, :dependent => :destroy
  has_many :users, :through => :user_schedules
  after_create :create_user_schedule
  def create_user_schedule
    User.find(:all).each do |user|
      self.users << user
    end
  end
end
15-3.既に登録されている情報を全て削除し、Event、User、Scheduleを入れなおします。
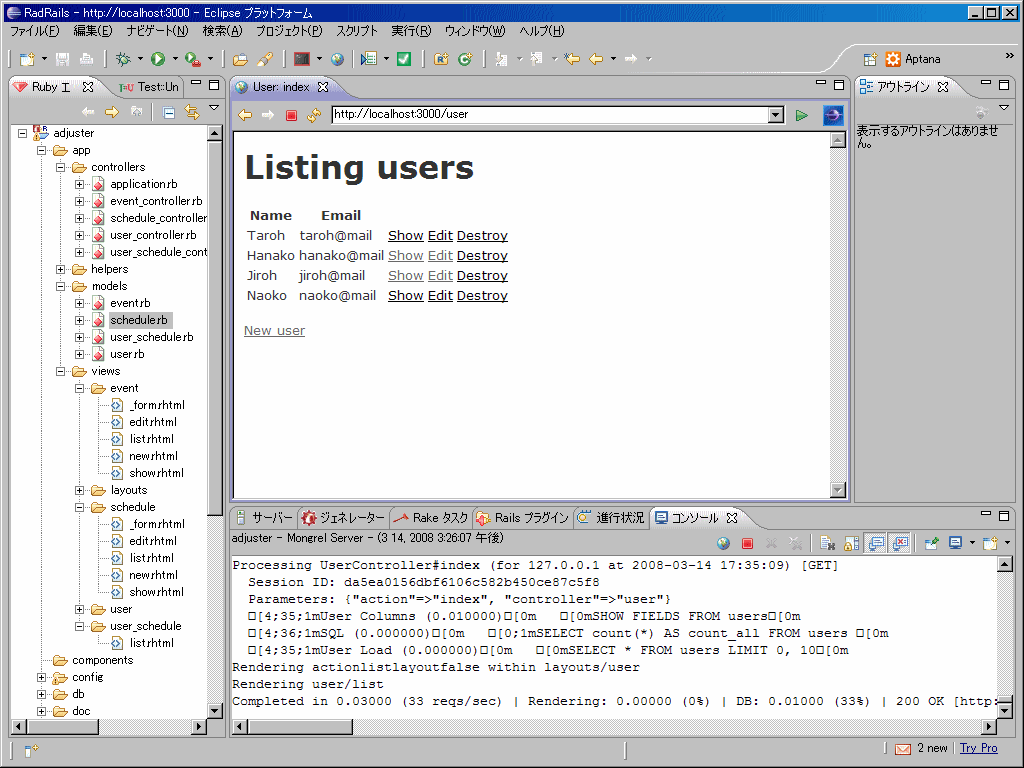
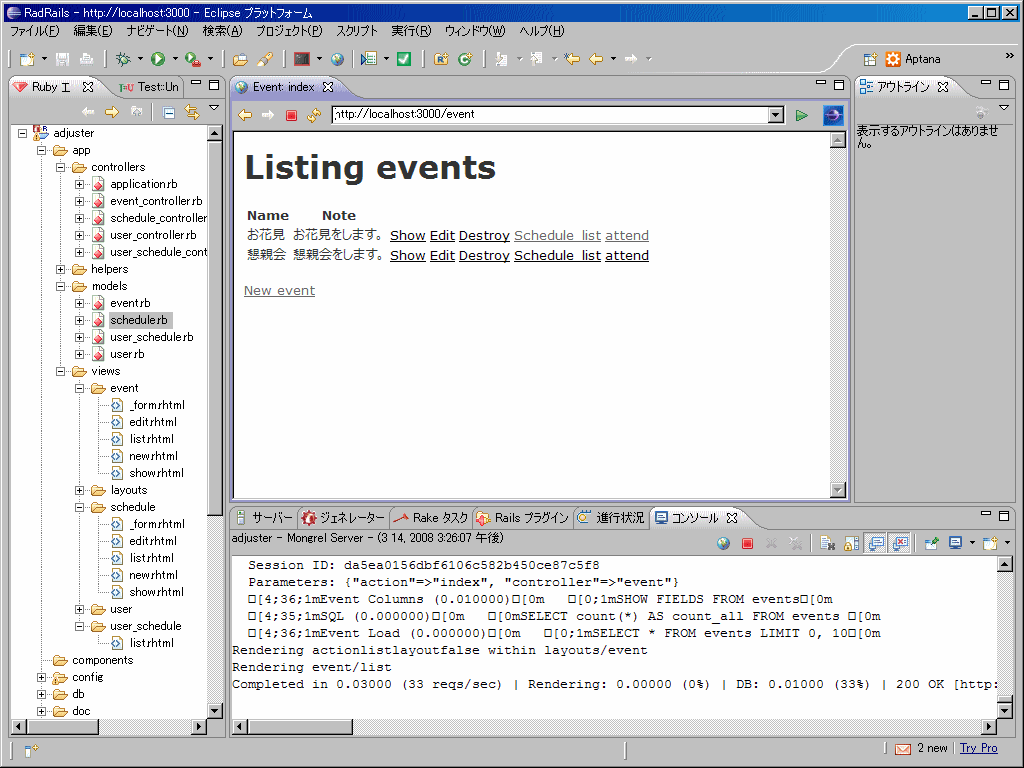
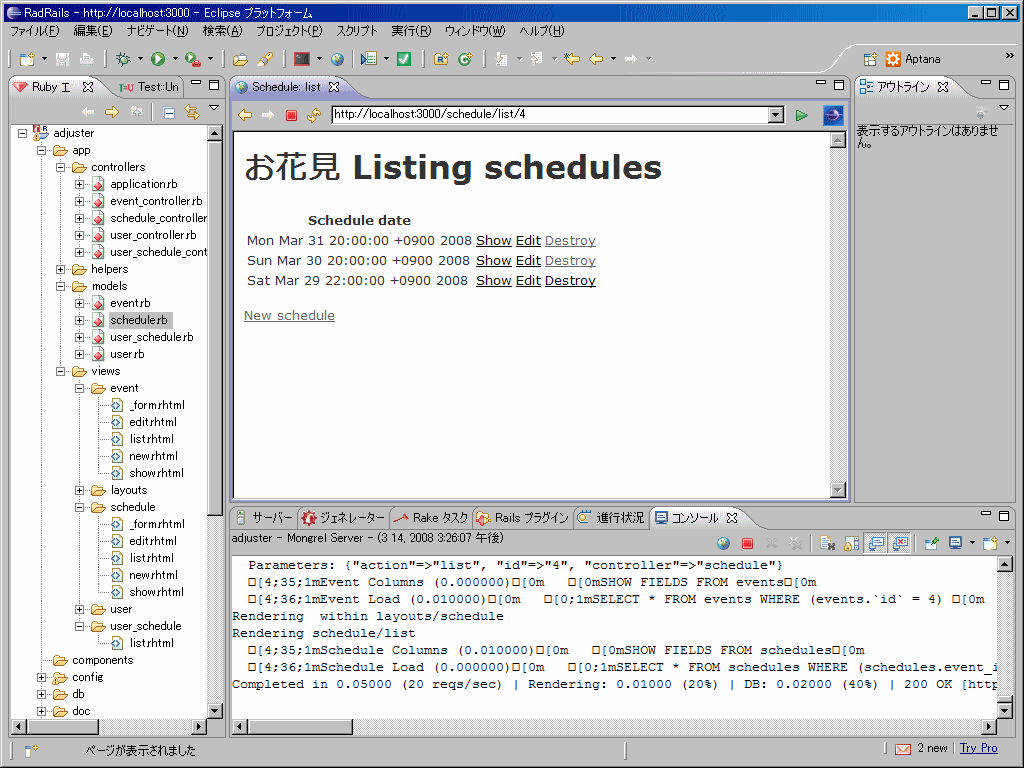
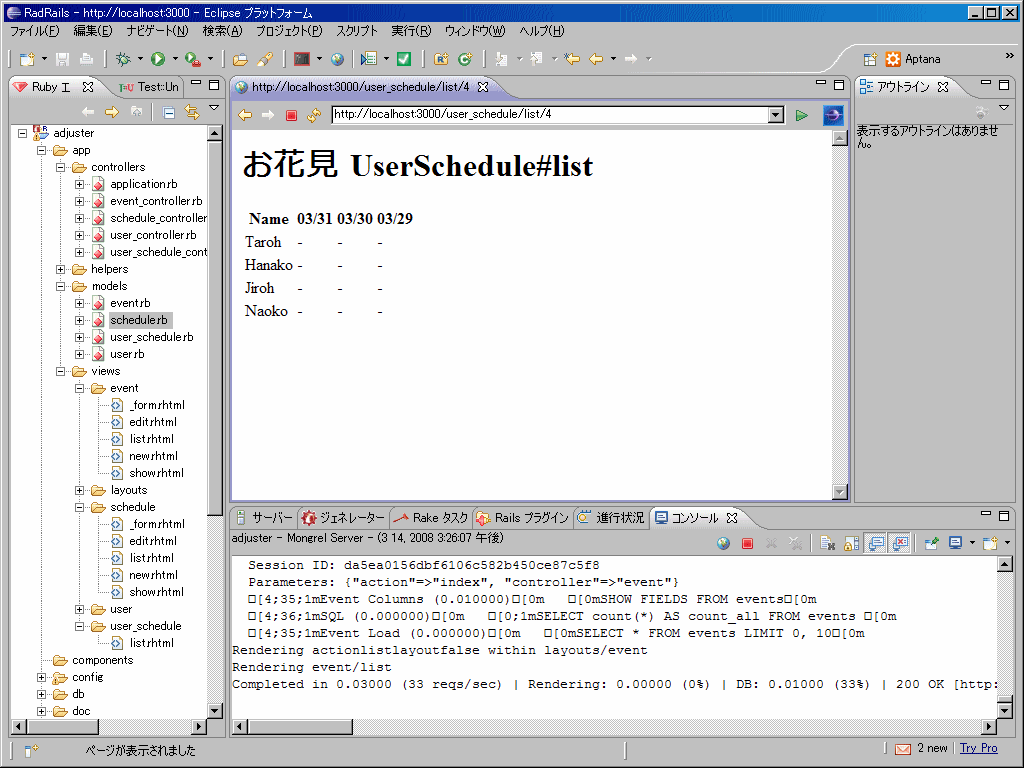
とりあえず日程調整画面の表示まできました。
Rails入門 日程調整アプリを作ろう4
Rails入門 日程調整アプリを作ろう3の続き。
実装 -2-(Schedule,UserSchedule)の10です。
10.Schedule_controller.rb、ScheduleのviewsをScheduleの親であるeventに従属するよう変更する
10-1./adjuster/app/controllers/schedule_controller.rbを開き、def listを修正します。
  def list
#   @schedule_pages, @schedules = paginate :schedules, :per_page => 10
    @event = Event.find(params[:id])
    @schedules = @event.schedules
  end
10-2./adjuster/app/views/schedule/list.rhtmlを開き、以下を修正する。
<h1><%=h @event.name %> Listing schedules</h1>
<%# link_to 'Previous page', { :page => @schedule_pages.current.previous } if @schedule_pages.current.previous %>
<%# link_to 'Next page', { :page => @schedule_pages.current.next } if @schedule_pages.current.next %>
ページングの2行をコメントアウトする必要あり。ここでちょっと詰まった。
<%= link_to 'New schedule', :action => 'new', :id => @event %>
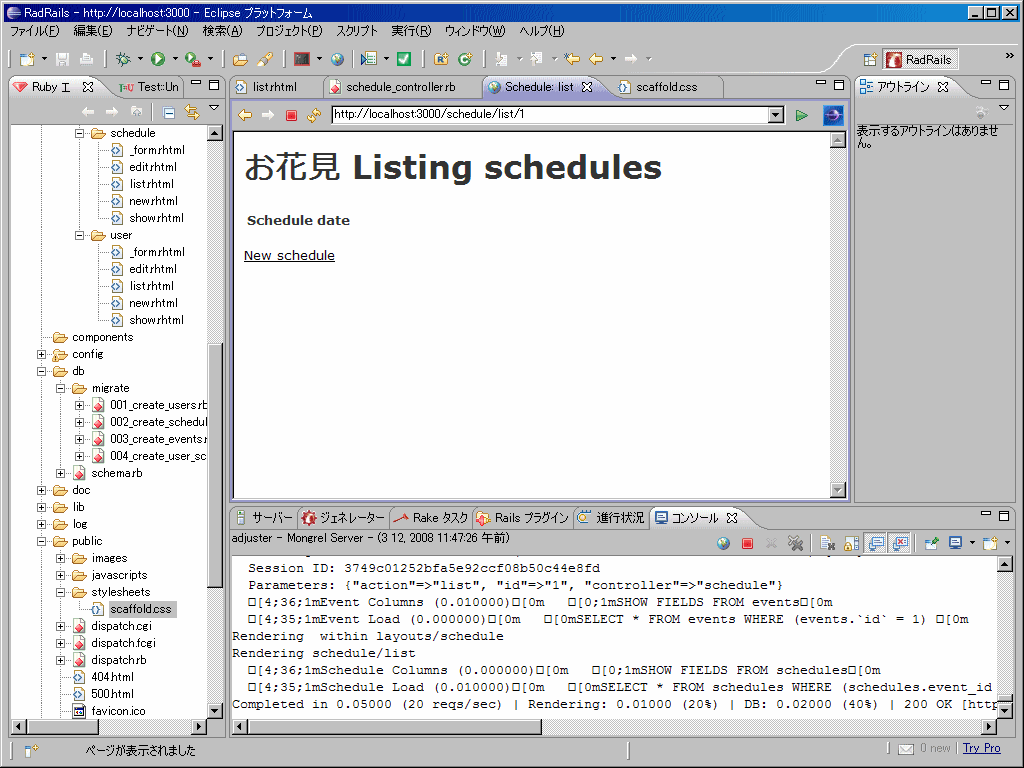
ちなみに、h1の上部が切れてしまっていたため、/adjuster/public/stylesheets/scaffold.cssを修正しました。
body, p, ol, ul, td {
  font-family: verdana, arial, helvetica, sans-serif;
  font-size:   13px;
/*  line-height: 18px; */
}
10-3./adjuster/app/controllers/schedule_controller.rbを開き、showの修正を行います。
  def show
    @schedule = Schedule.find(params[:id])
    @event = @schedule.event
  end
10-4./adjuster/app/views/schedule/show.rhtmlを編集します。list表示時にeventのidが必要になったためです。
<% for column in Schedule.content_columns %>
<p>
  <b><%= column.human_name %>:</b> <%=h @schedule.send(column.name) %>
</p>
<% end %>

<%= link_to 'Edit', :action => 'edit', :id => @schedule %> |
<%= link_to 'Back', :action => 'list', :id => @event %>
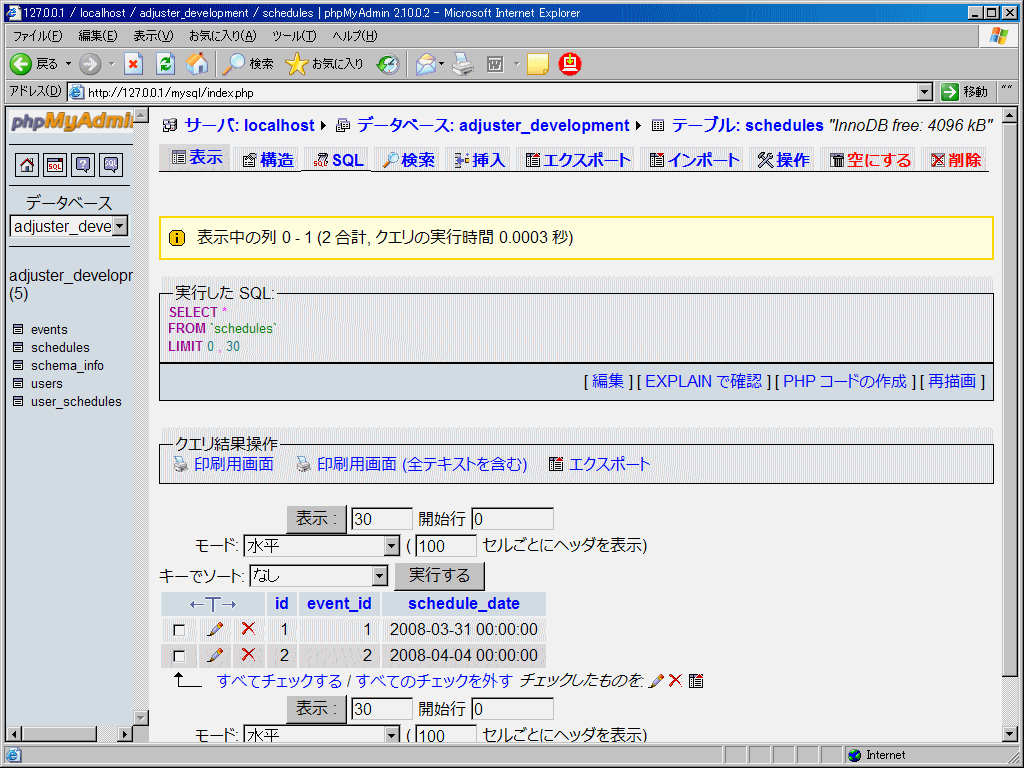
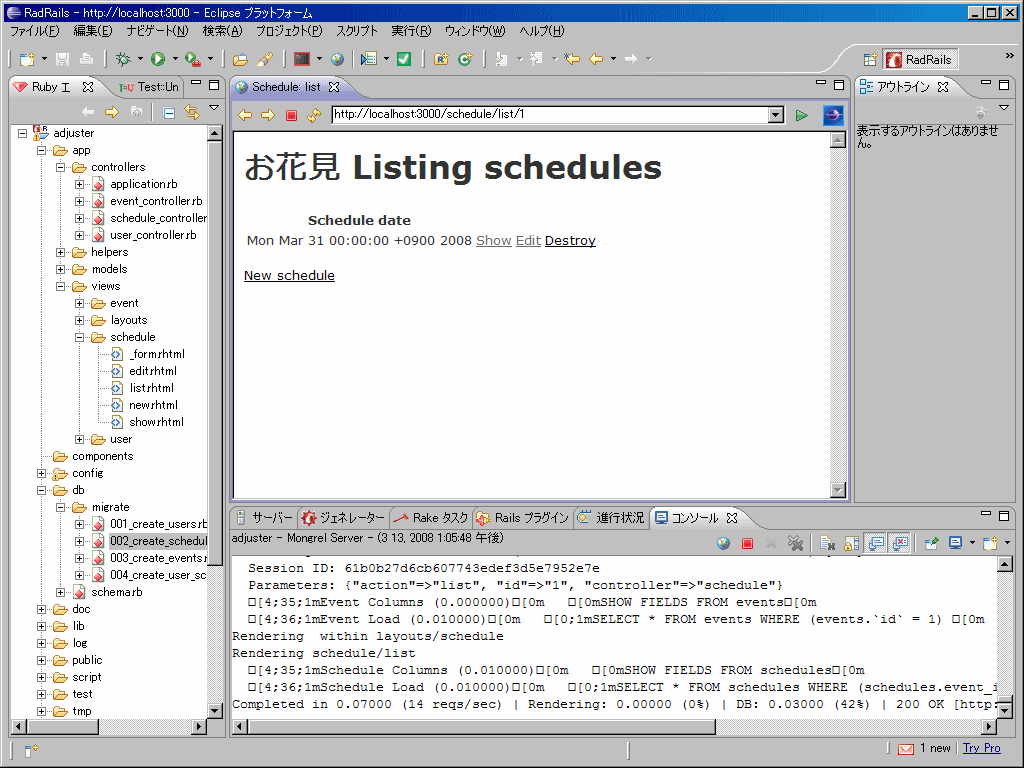
10-5.showのページを確認するため、scheduleのデータを入力します。phpMyAdminから入力しました。
10-6./adjuster/app/controllers/schedule_controller.rbを開き、newの修正を行います。
  def new
#   @schedule = Schedule.new
    @event = Event.find(params[:id])
    @schedules = @event.schedules.build
  end
10-7./adjuster/app/views/schedule/new.rhtmlを編集します。
<h1>New schedule</h1>

<% form_tag :action => 'create', :id => @event do %>
  <%= render :partial => 'form' %>
  <%= submit_tag "Create" %>
<% end %>

<%= link_to 'Back', :action => 'list', :id => @event %>
10-8./adjuster/app/views/schedule/_form.rhtmlを開き、attendに対して記述されている部分を削除します。
<%= error_messages_for 'schedule' %>

<!--[form:schedule]-->
<p><label for="schedule_schedule_date">Schedule date</label><br/>
<%= time_select 'schedule', 'schedule_date'  %></p>
<!--[eoform:schedule]-->
10-9./adjuster/app/controllers/schedule_controller.rbを開き、create、editの修正を行います。
  def create
#   @schedule = Schedule.new(params[:schedule])
    @event = Event.find(params[:id])
    @schedule = @event.schedules.build(params[:schedule])
    if @schedule.save
      flash[:notice] = 'Schedule was successfully created.'
      redirect_to :action => 'list', :id => @event
    else
      render :action => 'new', :id => @event
    end
  end
  def edit
    @schedule = Schedule.find(params[:id])
    @event = @schedule.event
  end
10-10./adjuster/app/views/schedule/edit.rhtmlを編集します。
<h1>Editing schedule</h1>

<% form_tag :action => 'update', :id => @schedule do %>
  <%= render :partial => 'form' %>
  <%= submit_tag 'Edit' %>
<% end %>

<%= link_to 'Show', :action => 'show', :id => @schedule %> |
<%= link_to 'Back', :action => 'list', :id => @event %>
10-11./adjuster/app/controllers/schedule_controller.rbを開き、update、destroyの修正を行います。
  def update
    @schedule = Schedule.find(params[:id])
    @event = @schedule.event
    if @schedule.update_attributes(params[:schedule])
      flash[:notice] = 'Schedule was successfully updated.'
      redirect_to :action => 'show', :id => @schedule
    else
      render :action => 'edit'
    end
  end
  def destroy
#   Schedule.find(params[:id]).destroy
    @schedule = Schedule.find(params[:id])
    @event = @schedule.event
    @schedule.destroy
    redirect_to :action => 'list', :id => @event
  end
controllerの修正部分がだんだんとわからなくなってきた。。いろいろ調べないと
Rails入門 日程調整アプリを作ろう3
Rails入門 日程調整アプリを作ろう2の続き。
実装 -2-(Schedule,UserSchedule)の1-9です。
1.不要なリンク、Schedule#indexを一旦削除
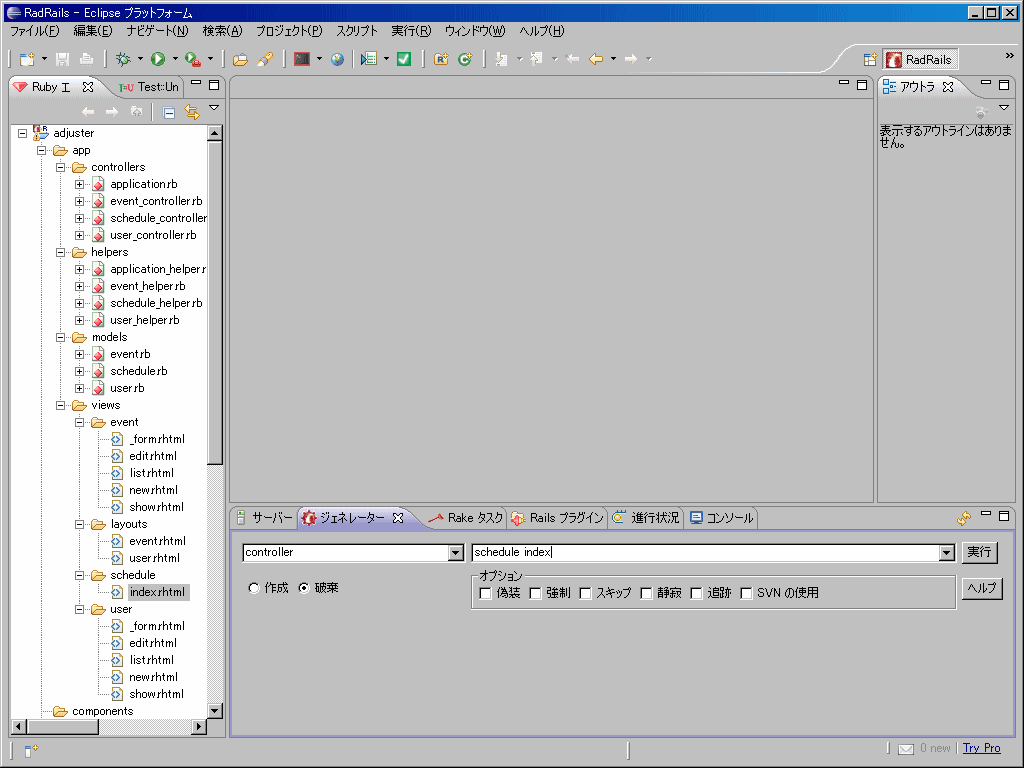
1-1.Eclipseのジェネレータータブを開き、破棄のラジオボタンを選択、プルダウンにcontroller、テキストボックスにschedule indexを入力し、実行ボタンをクリックします。
2.ScheduleをScaffoldで再作成
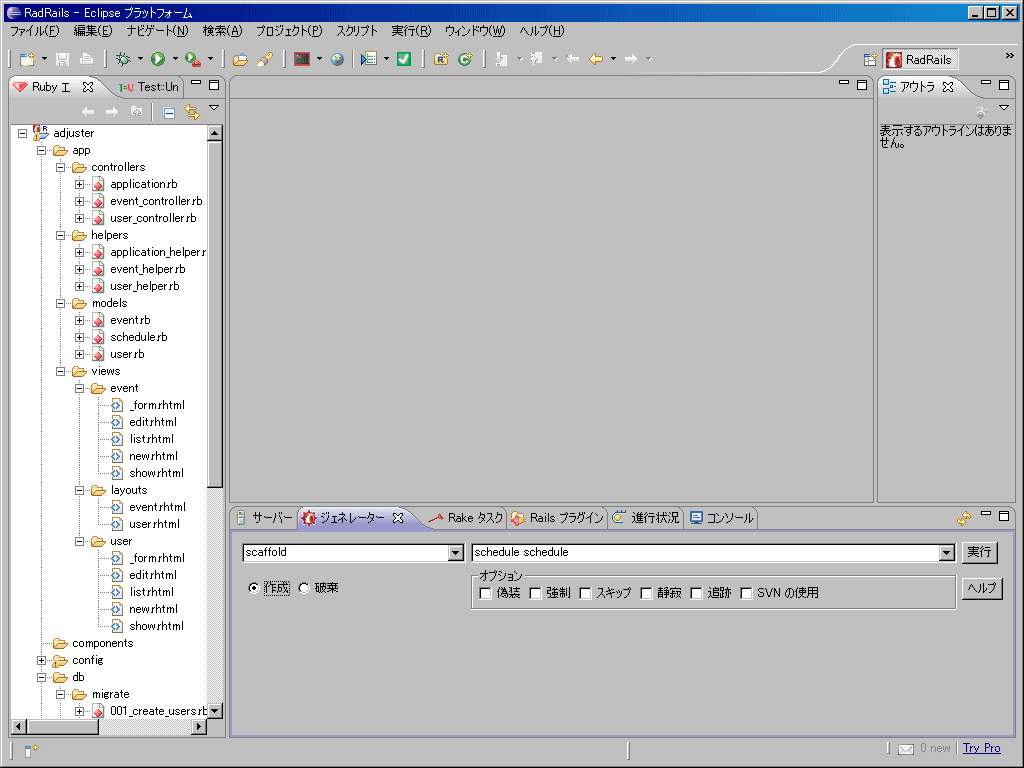
2-1.Eclipseのジェネレータータブを開き、作成のラジオボタンを選択、プルダウンにscaffold、テキストボックスにschedule scheduleを入力し、実行ボタンをクリックします。
3.Schedule/listへのlinkをEvent/listに新たに作成
3-1./adjuster/app/views/event/list.rhtmlを開き、table部分を以下のように記述します。
<table>
  <tr>
  <% for column in Event.content_columns %>
    <th><%= column.human_name %></th>
  <% end %>
  </tr>

<% for event in @events %>
  <tr>
  <% for column in Event.content_columns %>
    <td><%=h event.send(column.name) %></td>
  <% end %>
    <td><%= link_to 'Show', :action => 'show', :id => event %></td>
    <td><%= link_to 'Edit', :action => 'edit', :id => event %></td>
    <td><%= link_to 'Destroy', { :action => 'destroy', :id => event }, :confirm => 'Are you sure?', :method => :post %></td>
    <td><%= link_to 'Schedule_list', :controller => 'schedule', :action => 'list', :id => event %></td>
  </tr>
<% end %>
</table>
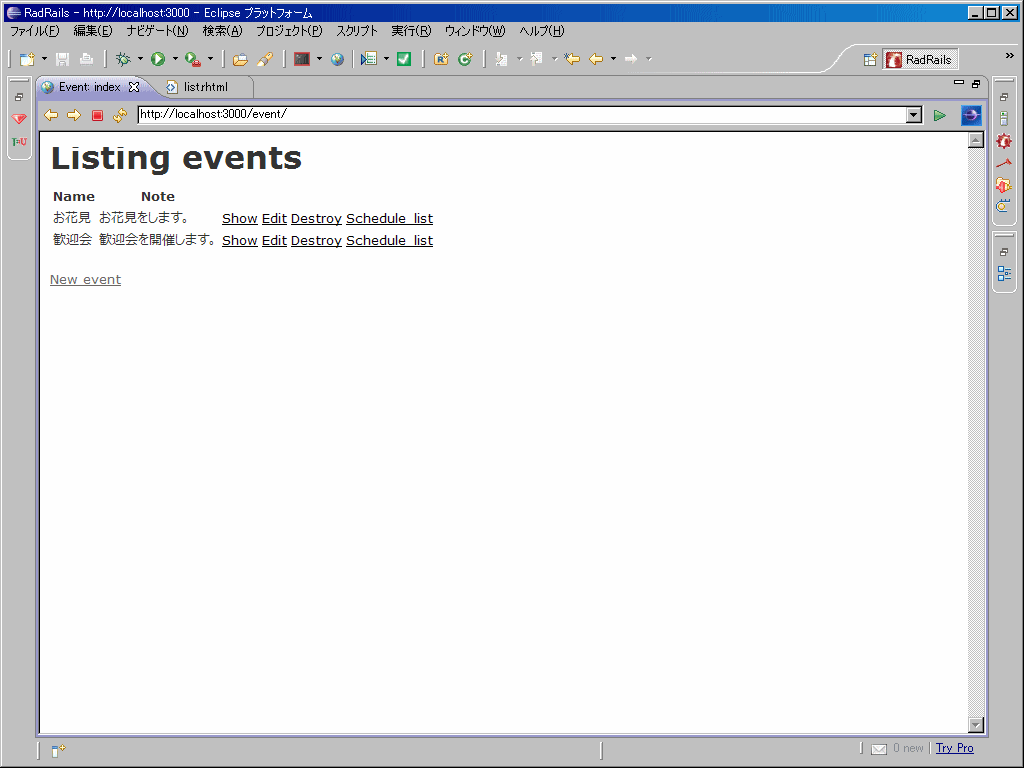
サーバーを起動し、http://localhost:3000/event/を表示すると、Schedule_listのリンクが追加されていることが確認できます。
4.Event,Schedule間のassociationを記述する
4-1.「User 1 - n UserSchedule n - 1 Schedule n - 1 Event」の関係をmodelに記述します。/adjuster/app/models/event.rbを編集します。
class Event < ActiveRecord::Base
  has_many :schedules
end
has_manyは複数形だから引数にsを付ける。という考え方でいいのだろうか??
4-2./adjuster/app/models/schedule.rbを編集します。
class Schedule < ActiveRecord::Base
  belongs_to :event
end
eventとscheduleの関係を表しています。
5.UserScheduleのモデルを作成する
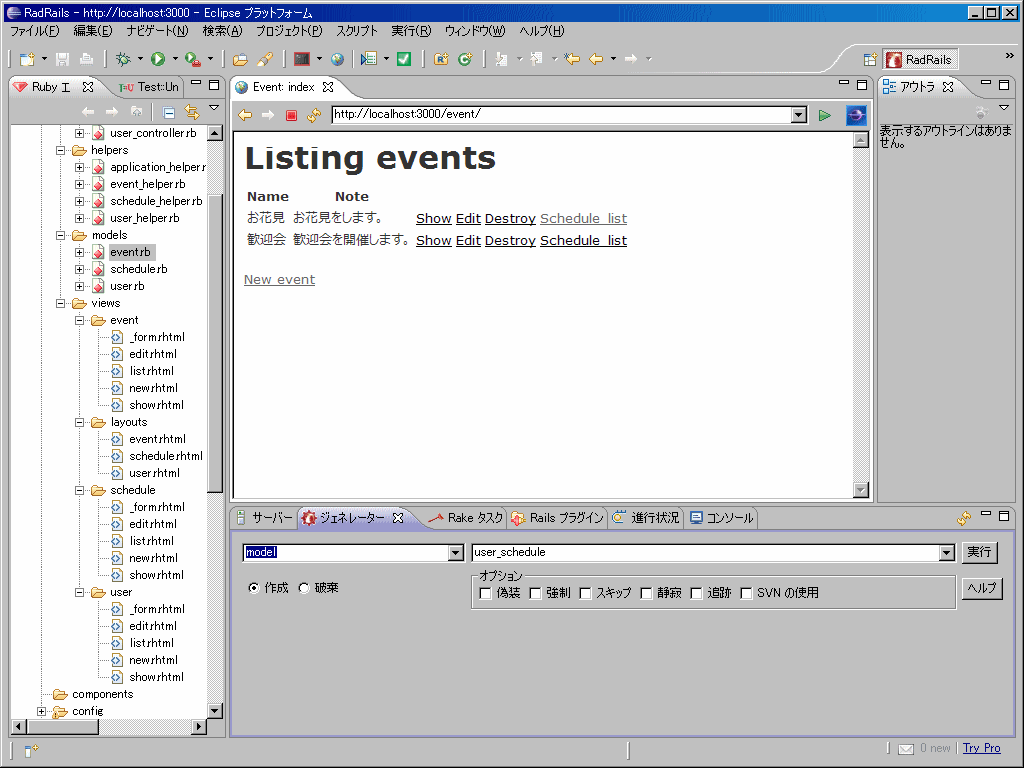
5-1.Eclipseのジェネレータータブを開き、プルダウンにmodel、テキストボックスにuser_scheduleを入力し、実行ボタンをクリックします。
6.UserScheduleのカラムを定義する
6-1./adjuster/db/migrate/004_create_user_schedules.rbを編集します。
class CreateUserSchedules < ActiveRecord::Migration
  def self.up
    create_table :user_schedules do |t|
      t.column :user_id, :integer
      t.column :schedule_id, :integer
      t.column :attend, :string, :default => '-'
    end
  end

  def self.down
    drop_table :user_schedules
  end
end
attendのdefault値は後々出てくるInPlaceEditorのためだそうです。
7.Scheduleから不要な(重複した)カラムを削除する
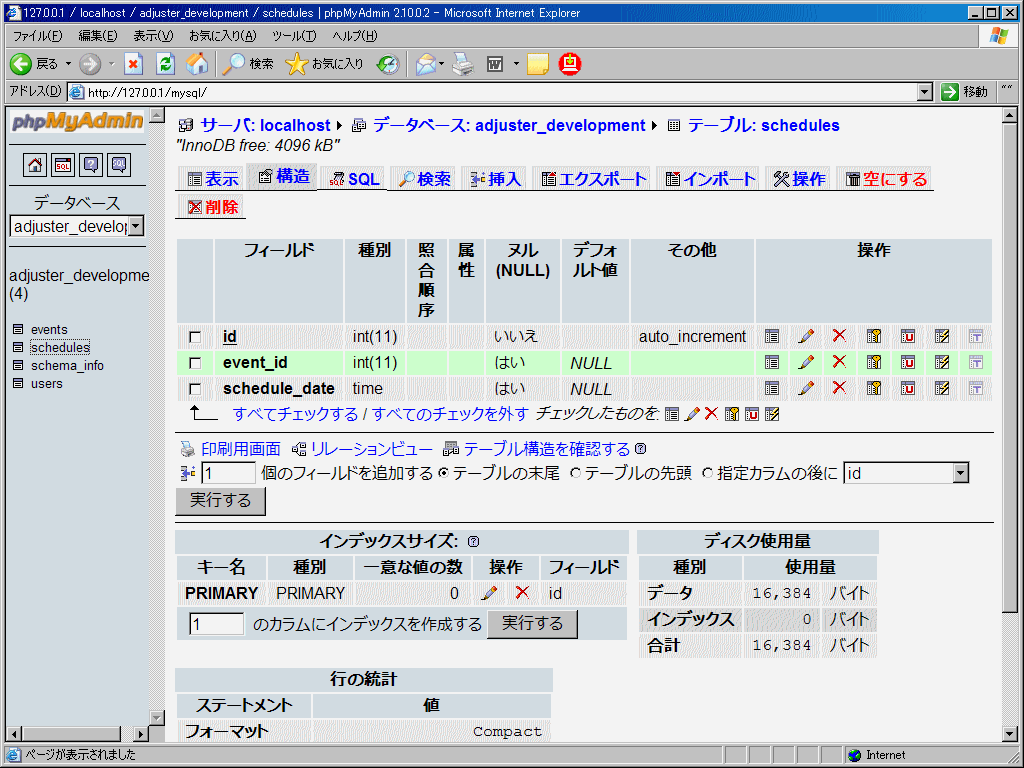
7-1.Schedulesテーブルから、user_id、attendを削除します。/adjuster/db/migrate/002_create_schedules.rbを編集します。
class CreateSchedules < ActiveRecord::Migration
  def self.up
    create_table :schedules do |t|
      t.column :event_id, :integer
      t.column :schedule_date, :datetime
    end
  end

  def self.down
    drop_table :schedules
  end
end
7-2.http://127.0.0.1/mysql/を開き、既に作成されているテーブルカラムを削除します。
8.db:migrate
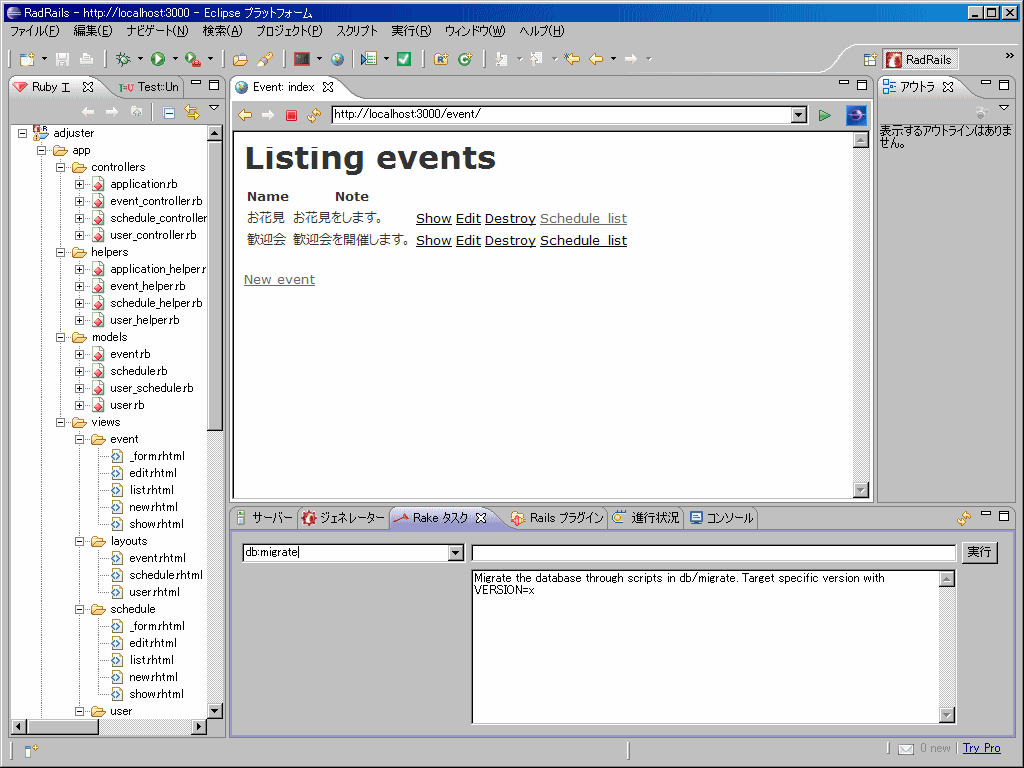
8-1.EclipseのRake タスクタブを開き、db:migrateと入力し、実行ボタンをクリックします。
9.Schedule,User,UserSchedule間のassociationを記述する
9-1./adjuster/app/models/schedule.rbを編集します。
class Schedule < ActiveRecord::Base
  belongs_to :event
  has_many :user_schedules
  has_many :users, :through => :user_schedules
end
9-2./adjuster/app/models/user.rbを編集します。
class User < ActiveRecord::Base
  has_many :user_schedules
  has_many :schedules, :through => :user_schedules
end
9-3./adjuster/app/models/user_schedule.rbを編集します。
class UserSchedule < ActiveRecord::Base
  belongs_to :user
  belongs_to :schedule
end
Rails入門 日程調整アプリを作ろう2
Rails入門 日程調整アプリを作ろう1の続き。
実装 -1-(User,Event)の6-9です。
6.scaffold(User,Event)
6-1.Eclipseのジェネレータータブを開き、プルダウンにscaffold、テキストボックスにuser userを入力し、実行ボタンをクリックします。
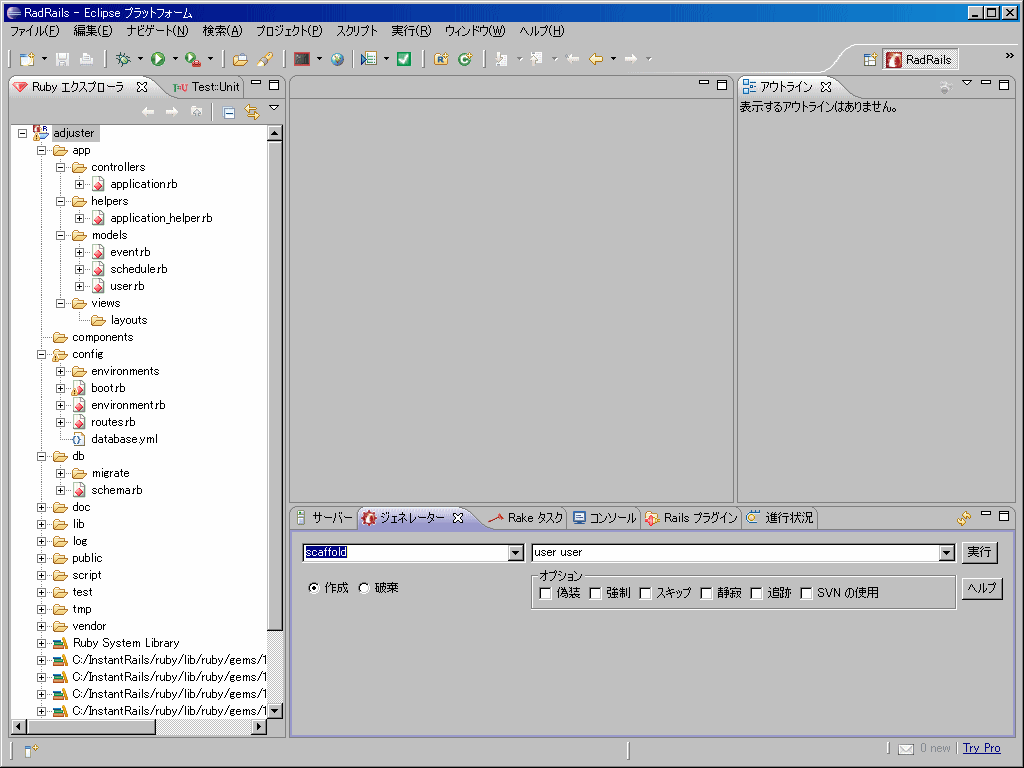
これにより、controller、viewなどが作成されます。
6-2.user同様、eventに関してもscaffoldを実行します。
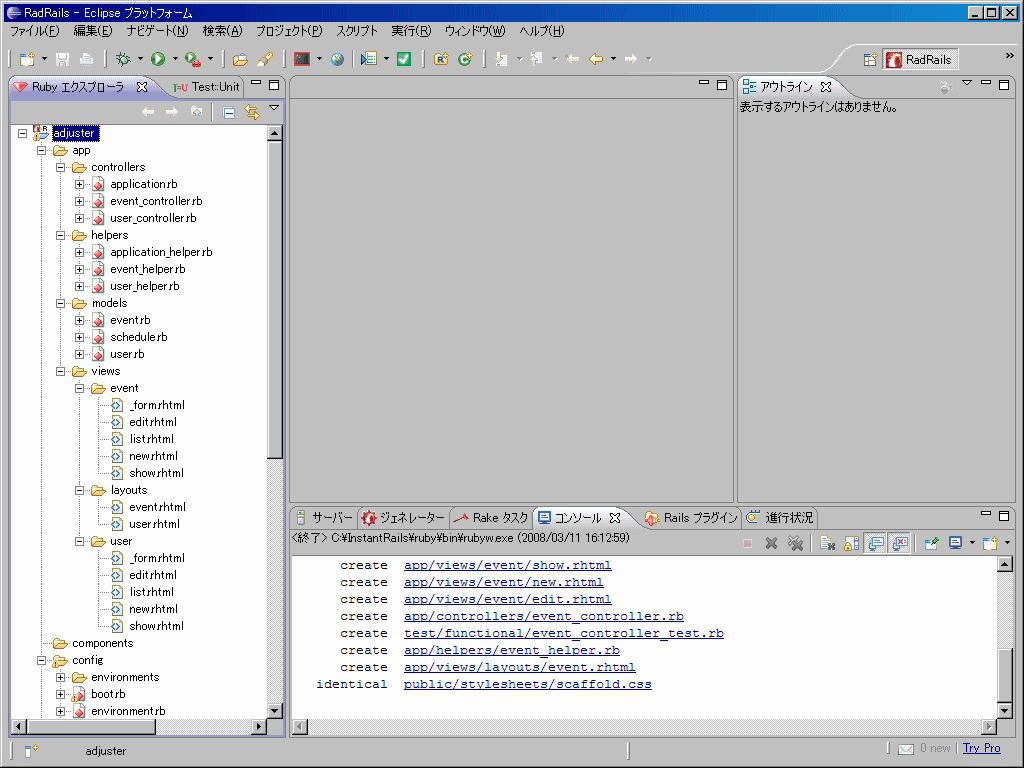
この辺がRailsの特徴でしょうか?scaffoldを直訳すると「足場」。controller、viewの雛形を自動的に作成するという感じで認識すればいいのかな?
6-3.データを何件か登録するために、Eclipseのサーバータブを開き、adjusterServerを起動し、ブラウザーの起動を行います。*1
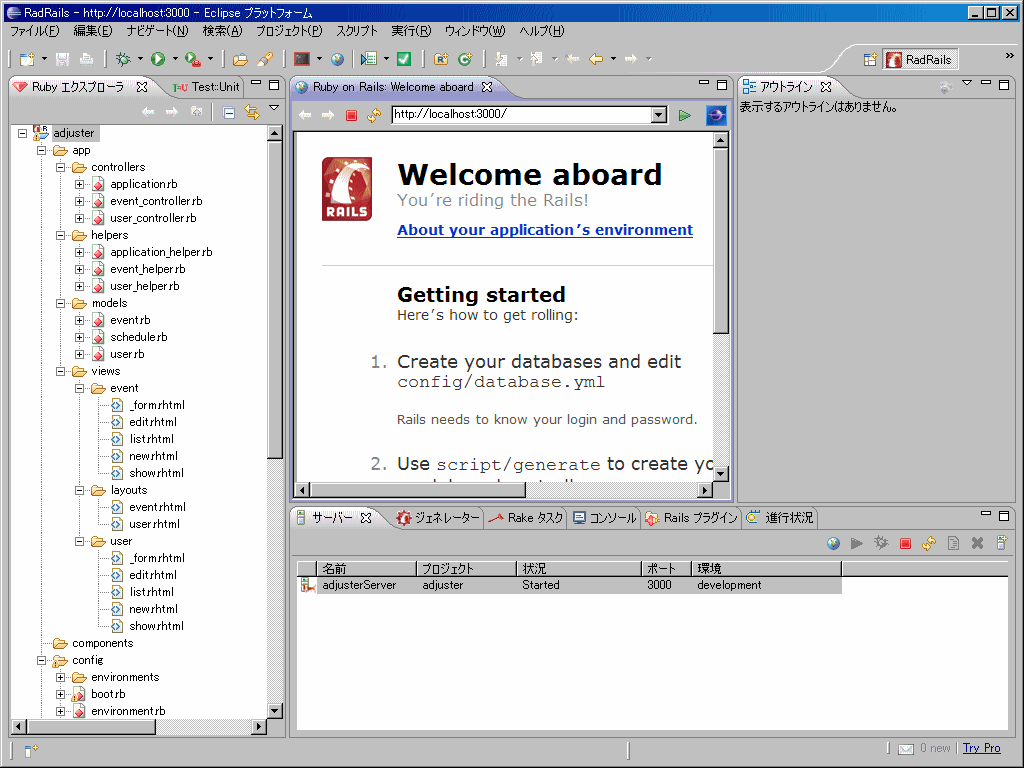
Welcome aboardというページが表示されることを確認します。
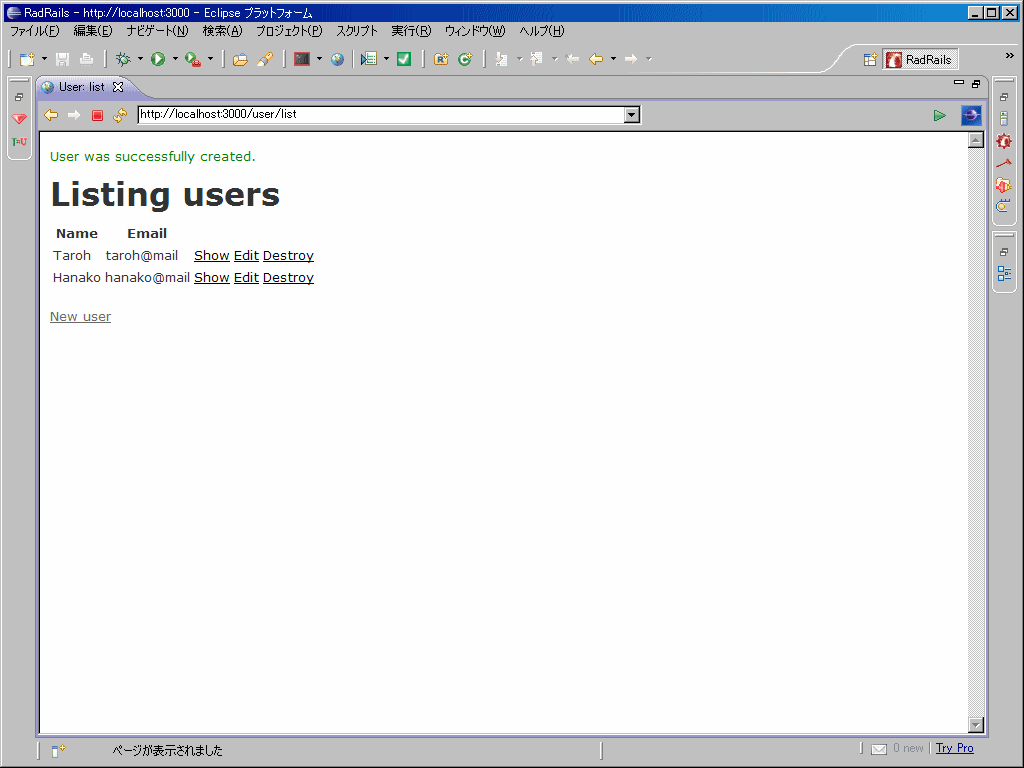
6-4.URLにhttp://localhost:3000/user/を入力し、New userをクリックし、userを登録します。
6-5.URLにhttp://localhost:3000/event/を入力し、New eventをクリックし、eventを登録します。
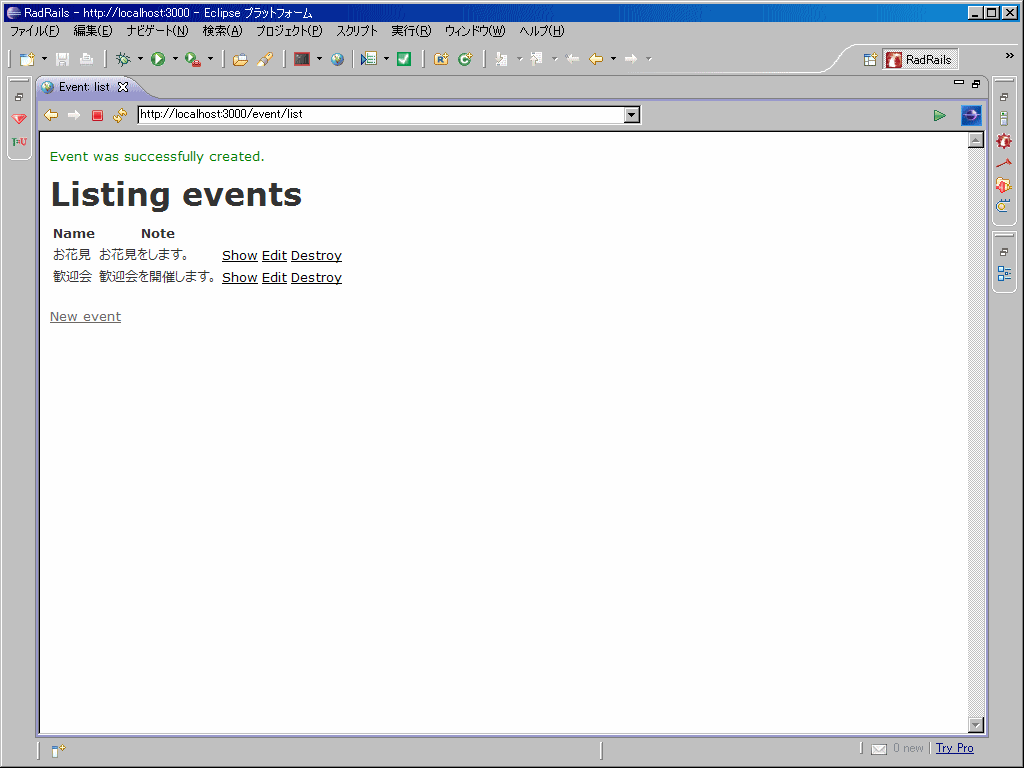
todo表とかただ単にCRUDするだけのWebページなら簡単に作れるみたいです。作成したそれぞれのページをどう連携するかをこのチュートリアルで学べそうです。
7.Scheduleのコントローラ作成
7-1.Eclipseのジェネレータータブを開き、プルダウンにcontroller、テキストボックスにschedule indexを入力し、実行ボタンをクリックします。
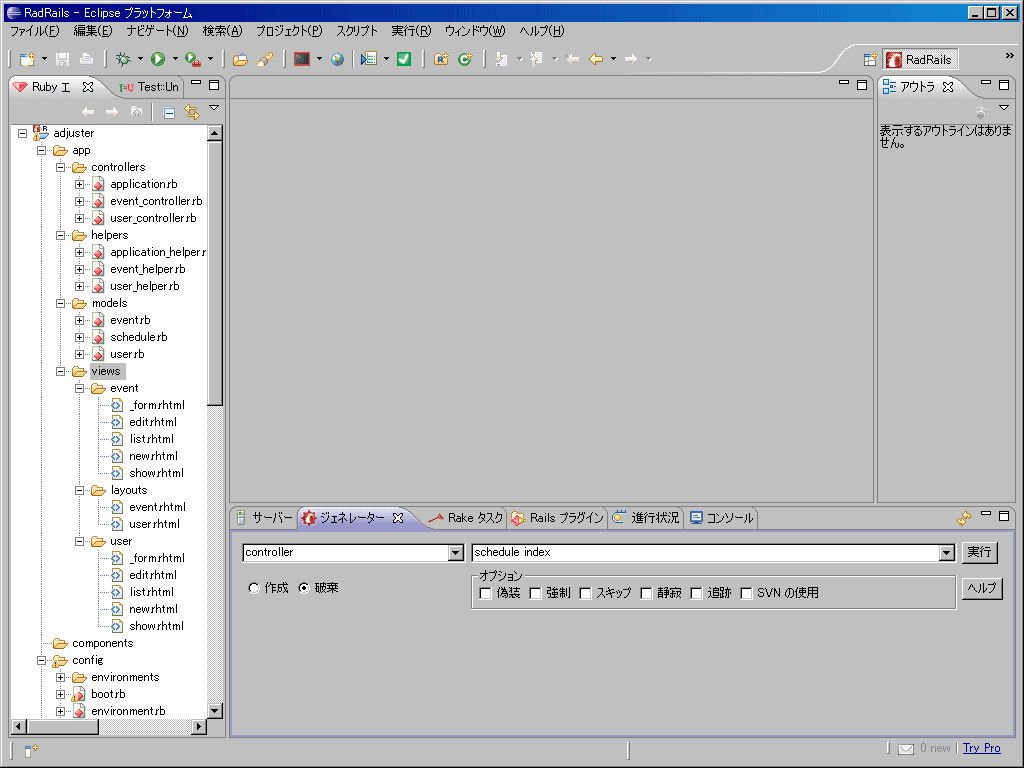
これにより、controller、indexページが作成されます。
8.Scheduleのindex.rhtml、コントローラの編集
8-1./adjuster/app/controllers/schedule_controller.rbを開き、以下のように修正します。
class ScheduleController < ApplicationController
  def index
    @events = Event.find(:all)
  end
end
インスタンス変数の@eventsを定義し、eventモデルの値を格納します。*2*3
8-2./adjuster/app/views/schedule/index.rhtmlを開き、以下のように修正します。
<h1>Schedule#index</h1>
<% @events.each do | event | %>
<%= link_to h(event.name), :action=>:event, :id=>event %>
<% end %>
コントローラーで定義した変数@events分繰返し処理を行っています。h(event.name)でevent.nameをサニタイジングしています。
次の:action=>:event、:id=>eventでつまずく、、この:eventは'event'.to_sと同じ意味なのだろうか?eventはevent.idと指定しなくても、id=>だから、自動的にevent.idと認識されるのだろうか?むぅ
8-3.URLにhttp://localhost:3000/schedules/を入力し画面を表示します。
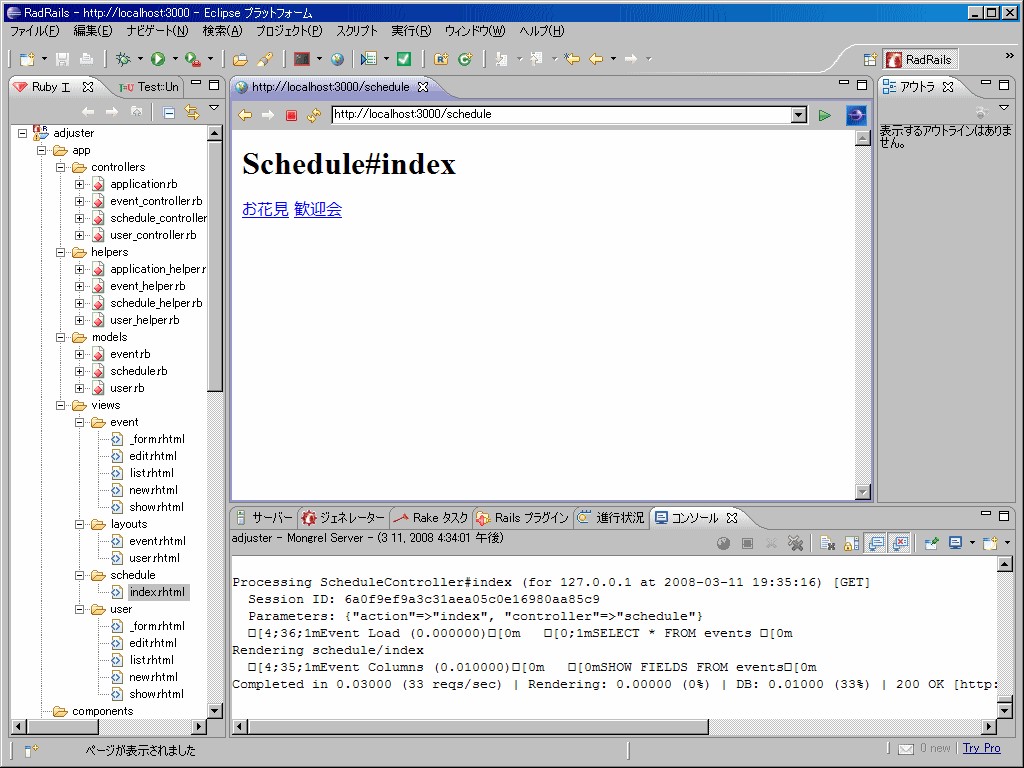
リンク元とは違い、横に並んで表示されていますが、eventととして登録した情報が表示されていることを確認することができます。
Rails入門 日程調整アプリを作ろう1
開発環境の構築は終わったので、何かしらアプリを作ってみようと思います。
とは言うものの、1から作る技量はないため、以下のチュートリアルを参考にしてみました。
日程調整アプリを作ろう
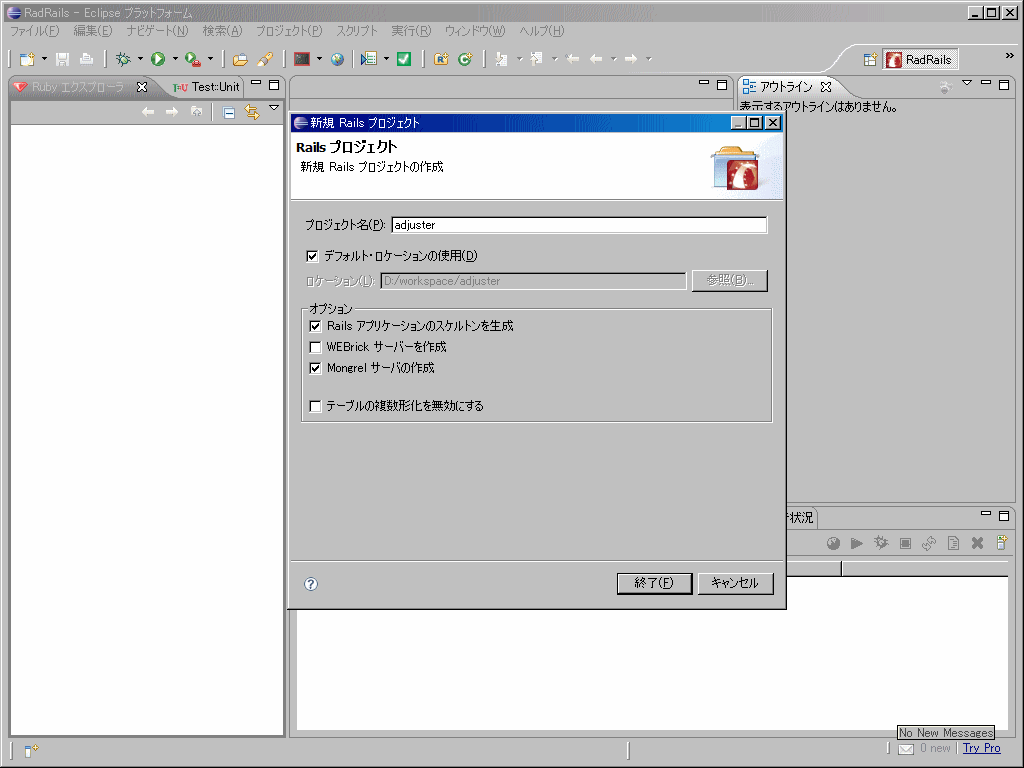
実装 -1-(User,Event)
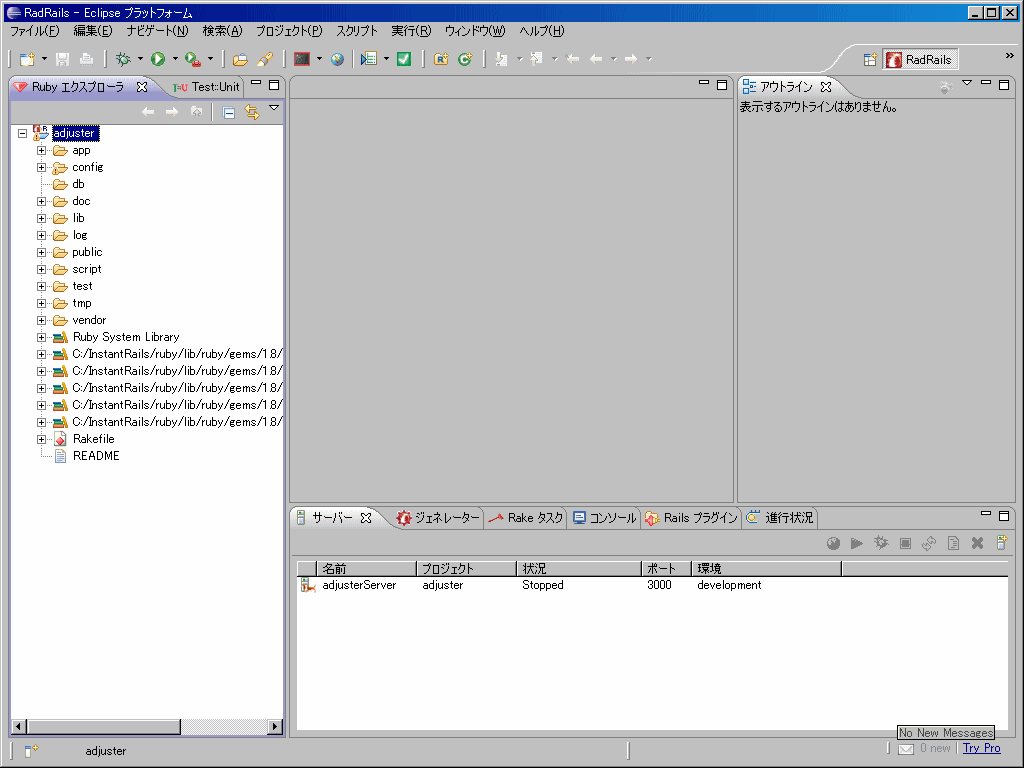
できる限りRadRailsを使用してみることにしました。
とりあえず、1から5まで作成。
2.データベース作成
ここで問題発生。デフォルトのDB設定がsqlite3になっている。
このチュートリアルはどうやらRails1.2.6を前提に作られているが、現在、構築されている環境はRails2.0.2である。いろいろ調べてみると1から2へのバージョンアップの影響は結構あるみたいで、2に対する入門書もまだ発売されていない。そのため、潔く、Railsのバージョンをチュートリアルに合わせることにする。
対処は簡単。InstantRailsから、InstantRails1.7をダウンロードし直し、フォルダごと置き換えました。*1
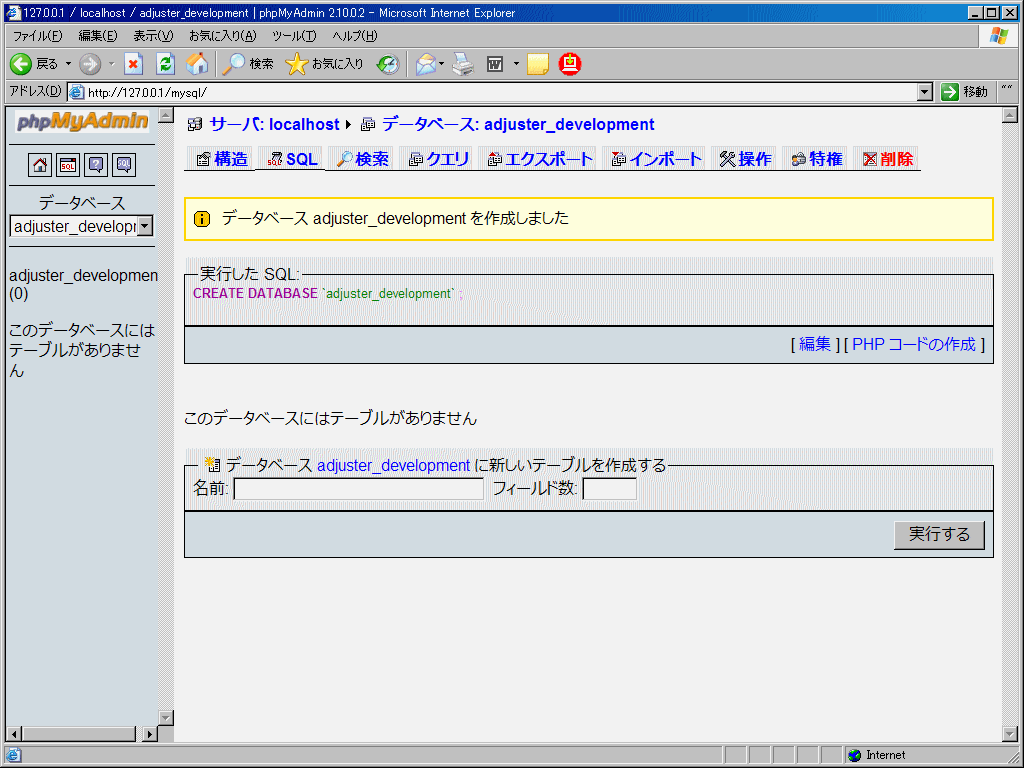
2-1.http://127.0.0.1/mysql/からphpMyAdminを起動し、新規データベースを作成する下のテキストボックスに「adjuster_development」を入力し、作成ボタンをクリックするとデータベースが作成されます。
3.モデル作成(User,Schedule,Event)
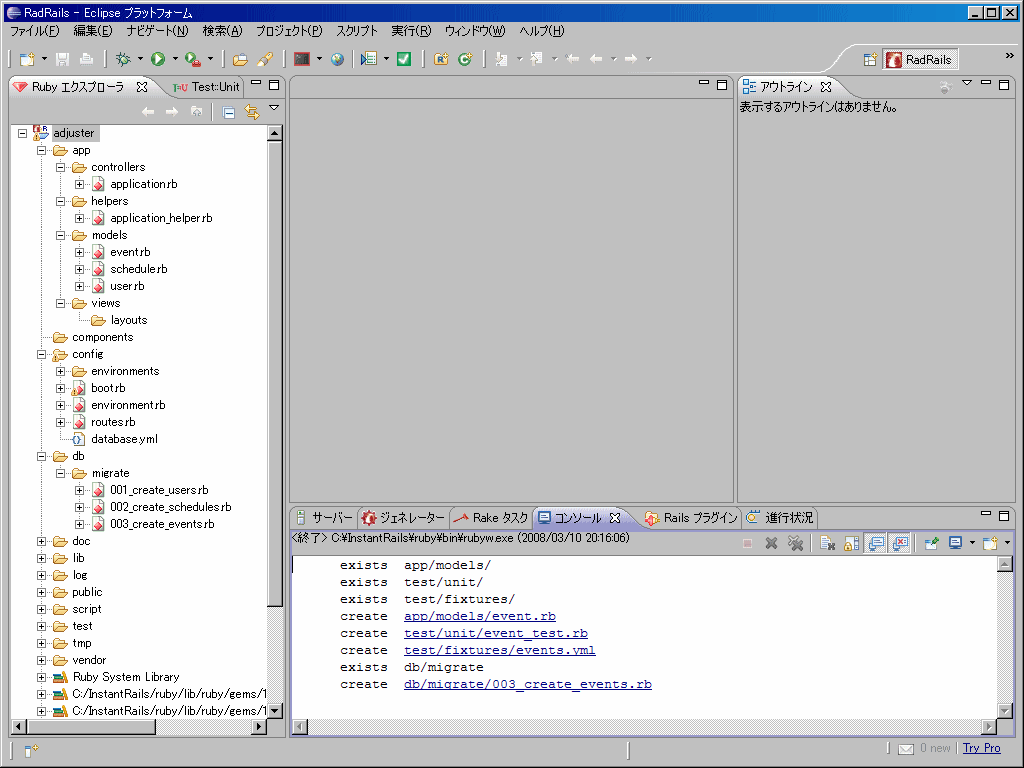
3-1.Eclipseのジェネレータータブを開き、プルダウンにmodel、テキストボックスにuserを入力し、実行ボタンをクリックします。
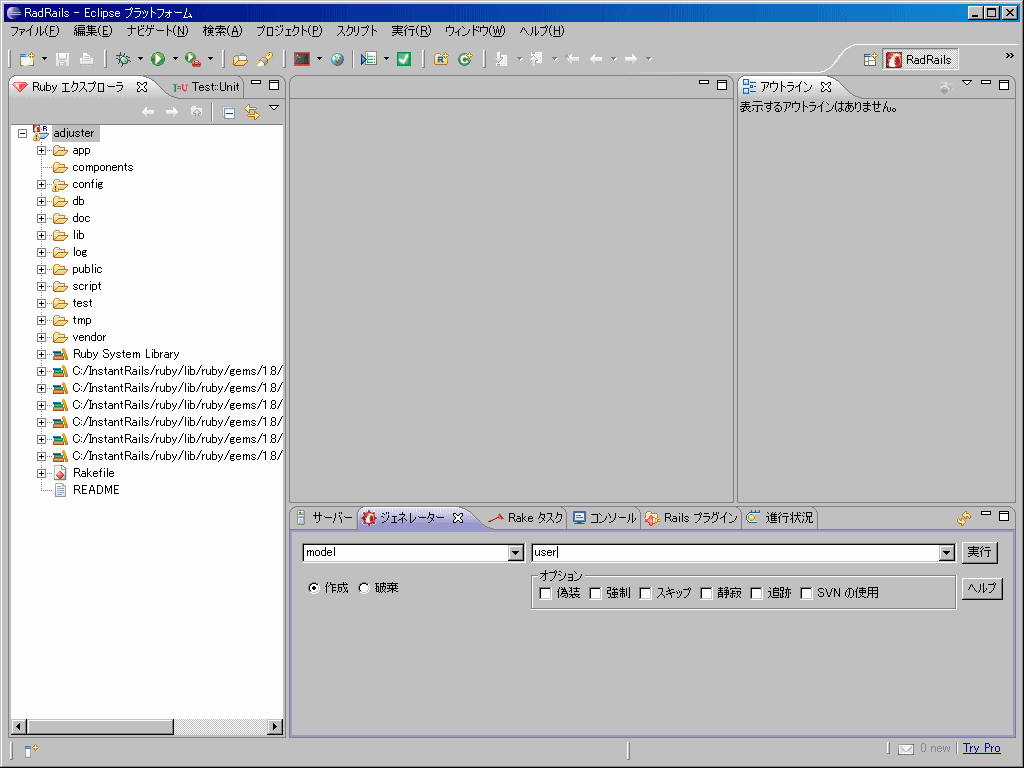
これによりuserモデルが作成されます。
4.マイグレーション定義(User,Schedule,Event)
4-1./adjuster/db/migrate/001_create_users.rbを修正し、カラムを追加します。この際、defがスペルチェックに引っかかってしまっていたので、ウィンドウ > 設定で設定画面を開き、一般 > エディター > テキスト・エディター > スペルの使用するエンジンのスペルを選択をRuby spelling engineに変更しました。
class CreateUsers < ActiveRecord::Migration
  def self.up
    create_table :users do |t|
      t.column :name, :string
      t.column :email, :string
    end
  end

  def self.down
    drop_table :users
  end
end
4-2./adjuster/db/migrate/002_create_schedules.rbを修正し、カラムを追加します。
class CreateSchedules < ActiveRecord::Migration
  def self.up
    create_table :schedules do |t|
      t.column :user_id, :integer
      t.column :event_id, :integer
      t.column :schedule_date, :time
      t.column :attend, :string
    end
  end

  def self.down
    drop_table :schedules
  end
end
suchedule_dateの型datetimeで定義します。
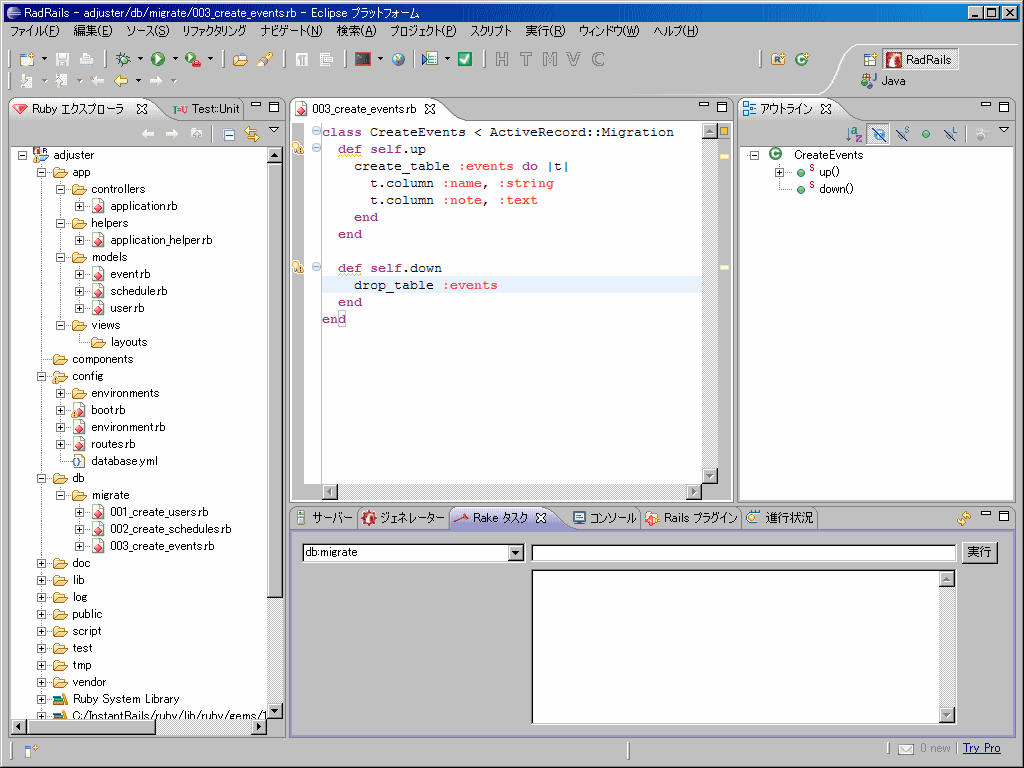
4-3./adjuster/db/migrate/003_create_events.rbを修正し、カラムを追加します。
class CreateEvents < ActiveRecord::Migration
  def self.up
    create_table :events do |t|
      t.column :name, :string
      t.column :note, :text
    end
  end

  def self.down
    drop_table :events
  end
end


